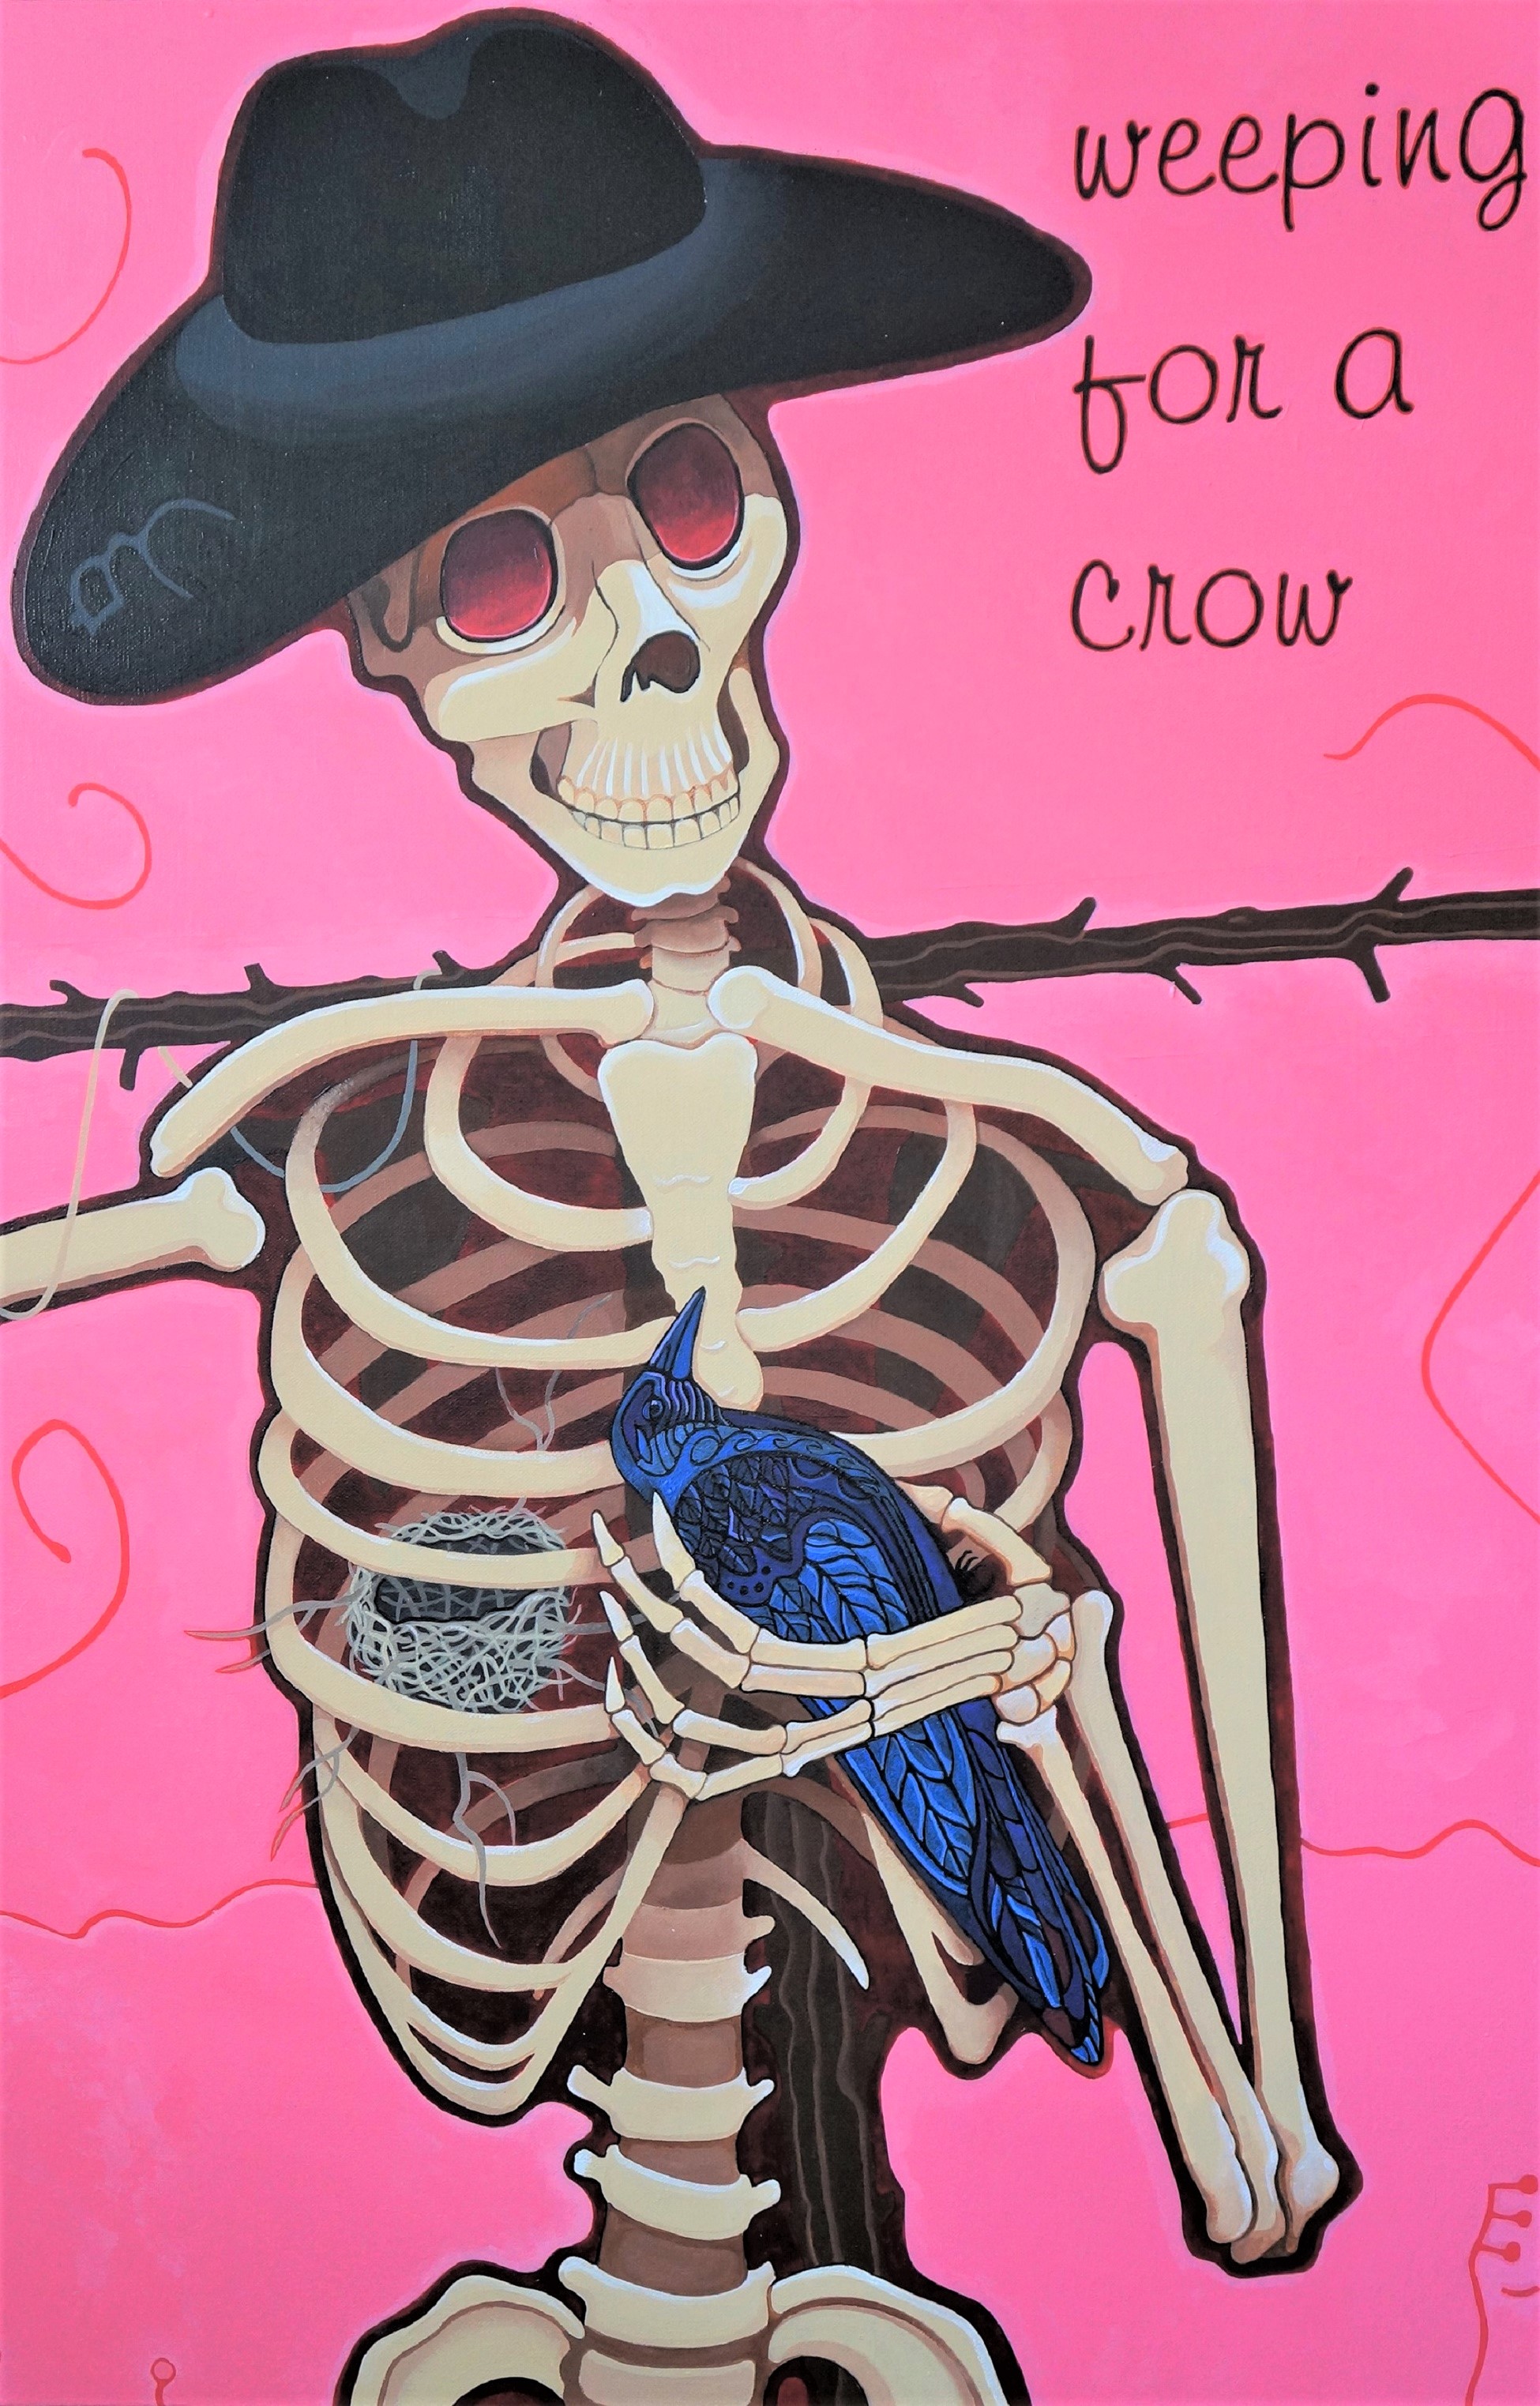
Resin projects

I’ve got some resin I want to try out. I went to Michael’s yesterday and got some glitter, and this cool skull mold. I can’t wait to try it out.


jo forrest 2020@

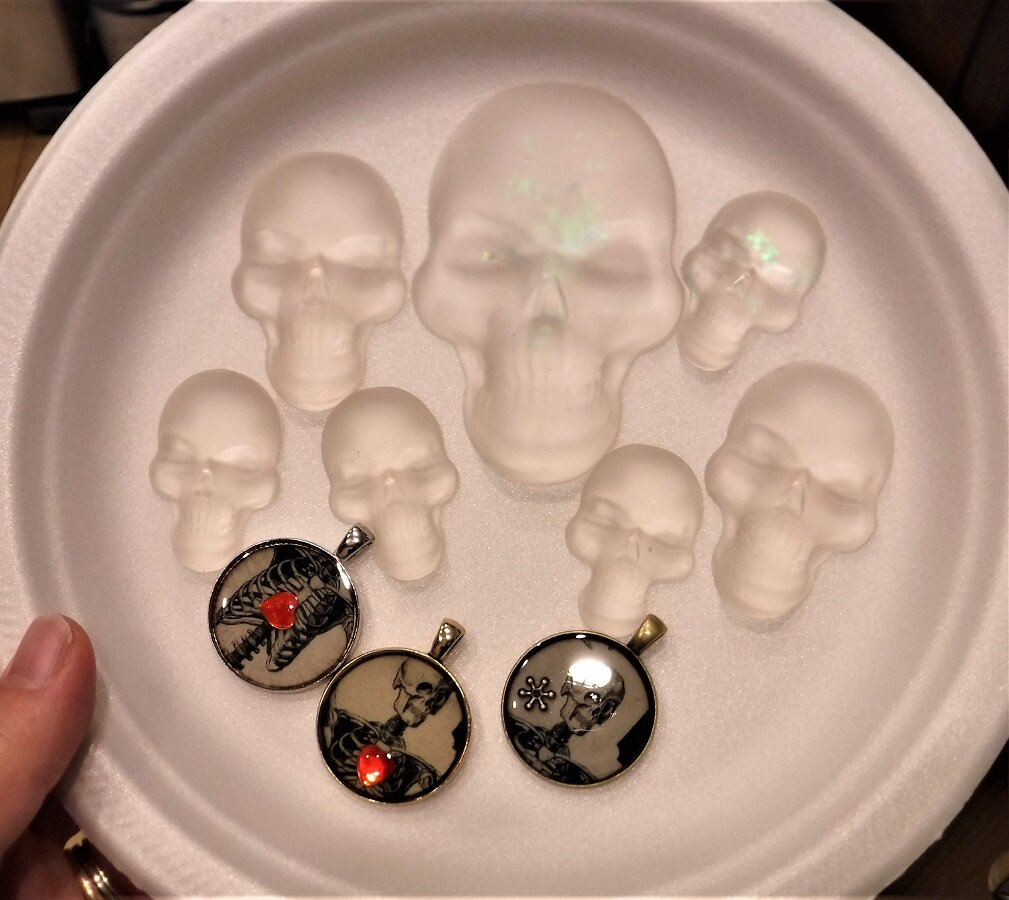
This is the mold I got of some cool skulls. It’s a proper silicone mold for resin, so I’m hoping it will work fine. I have to think about what I want to put in them. I might do some plain, and maybe paint the back, I don’t know yet. I have a plastic heart mold from Valentine’s day I want to try too.


heart mold for resin pour  jo forrest 2020@

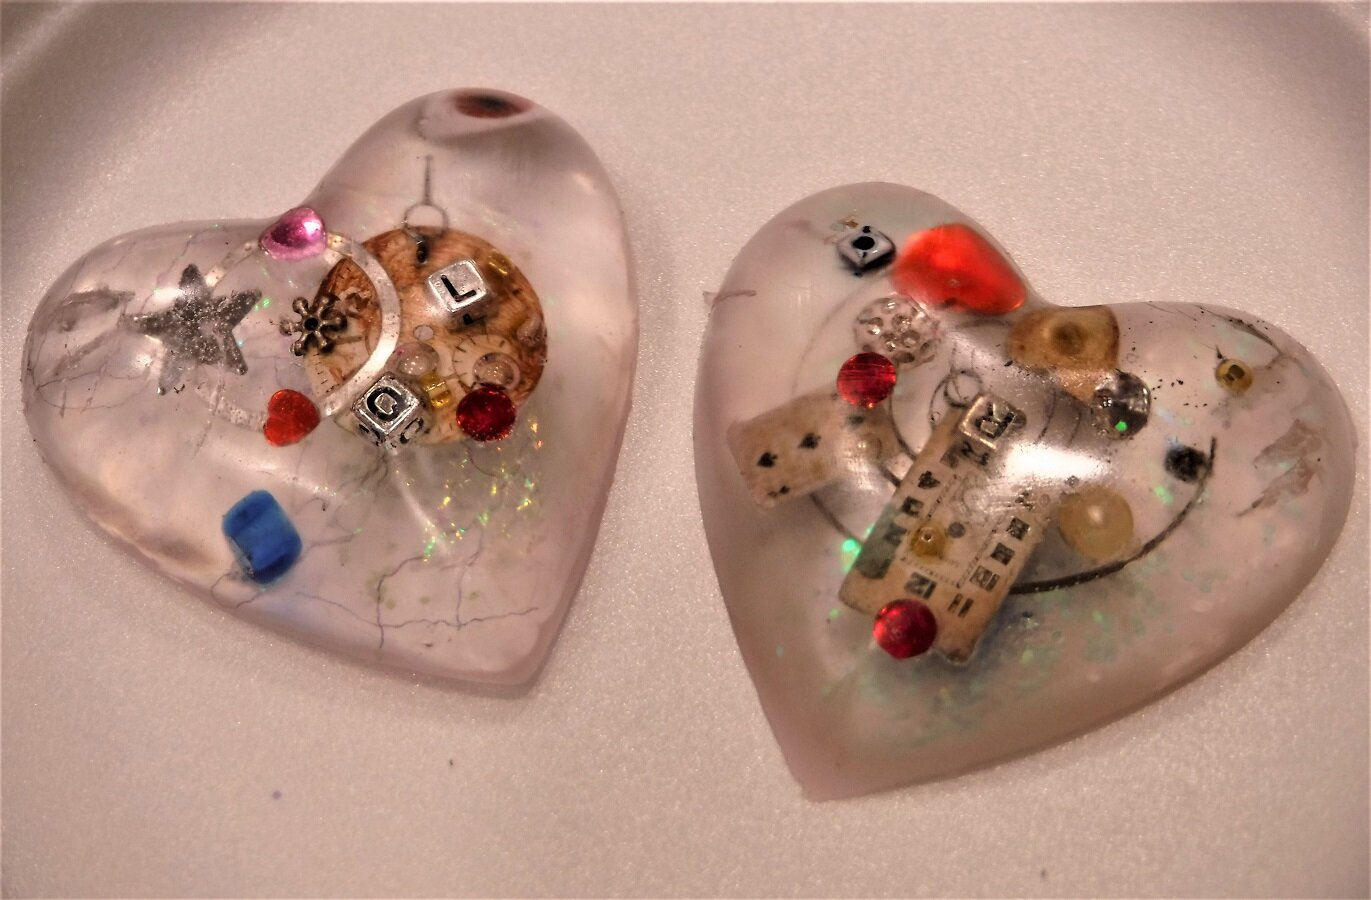
This is half the heart. All the inclusions will be face down, but I turned them over so I could take the photograph.


resin heart half  jo forrest  2020@

resin glitter   jo forrest 2020@

I got a rainbow of glitter too.


jewellery findings

I got these to make a couple of necklaces.


resin bottles and cards  jo forrest 2020@

I got these two small bottles with corks in them, and miniature playing cards. They can be a necklace too, or I can attach one to my charm bracelet.


resin necklaces  jo forrest 2020@

Two of the necklaces, poured. The skeletons were from Halloween cards I got last year, and the hearts are either from Michael’s or the dollar store.


skeleton necklace, tin resin pour, jo forrest 2020@

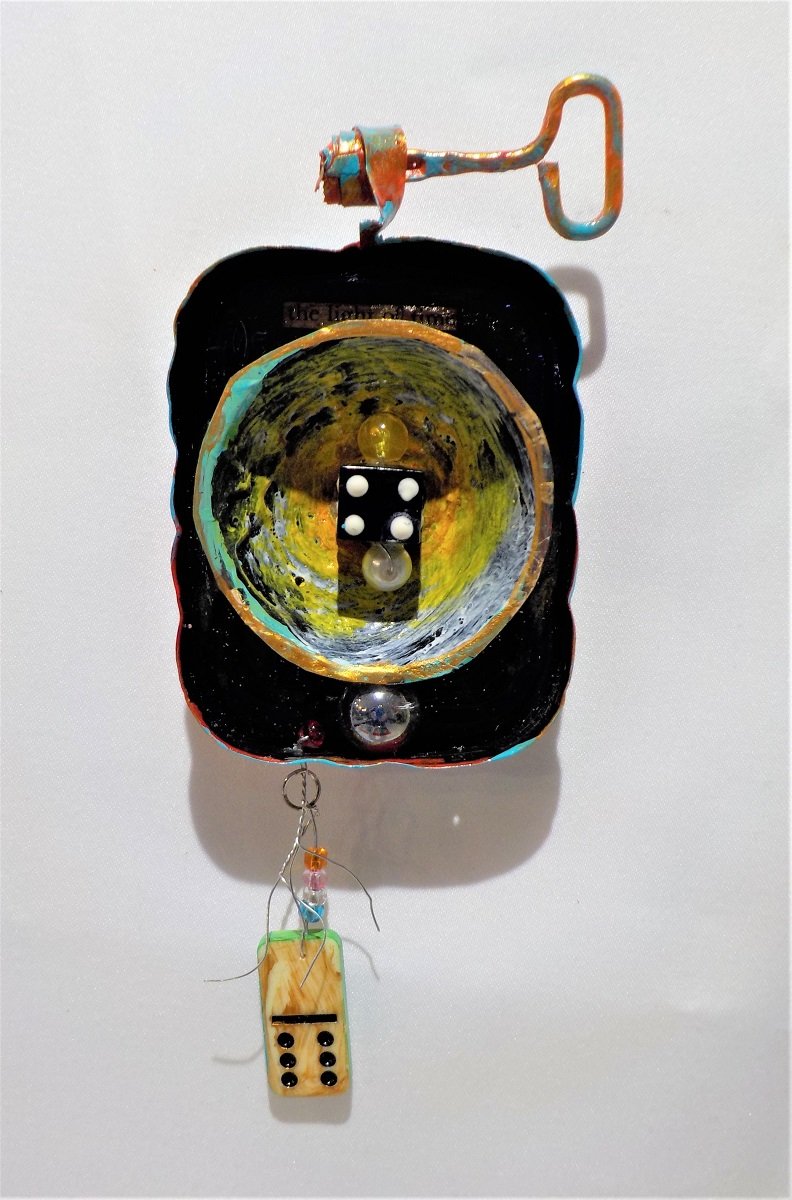
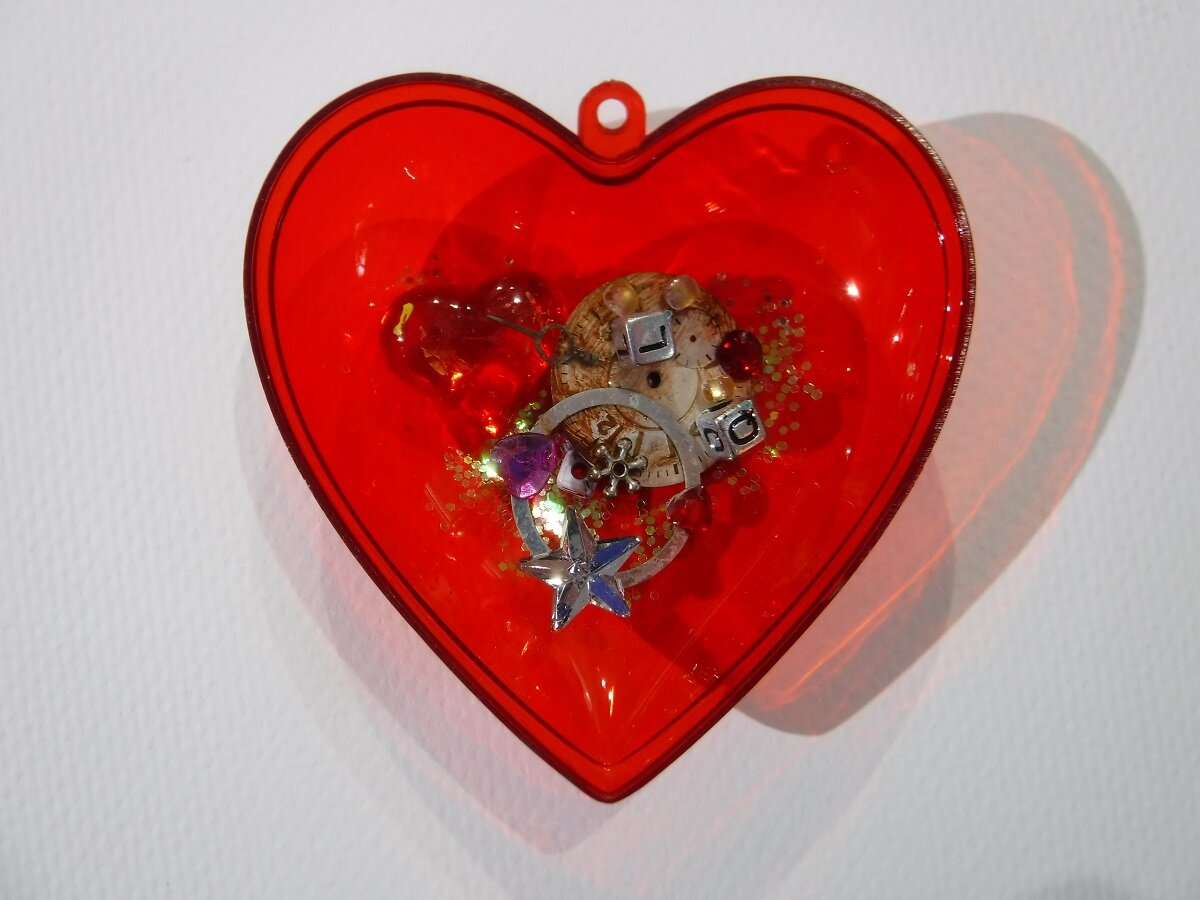
The third necklace, and a corned beef tin lid, with a plastic transparent skull sticker, dice, a watch spring, a heart jewel, and a piece of shell with some seaweed attached, and some glitter. I painted the tin white first.


resin skull mold poured   jo forrest 2020@

I poured too much into the mold, of course, and made a mess, but that’s me.


jo forrest studio 2020@

The vapor mask.


resin hearts  jo forrest 2020@

Two hearts, from a candy container from Valentine’s day. I sprayed them with Pam, so I hope they release. I won’t know until Wednesday afternoon. I hope they will have set by then.


resin bottle shell tin  jo forrest 2020@

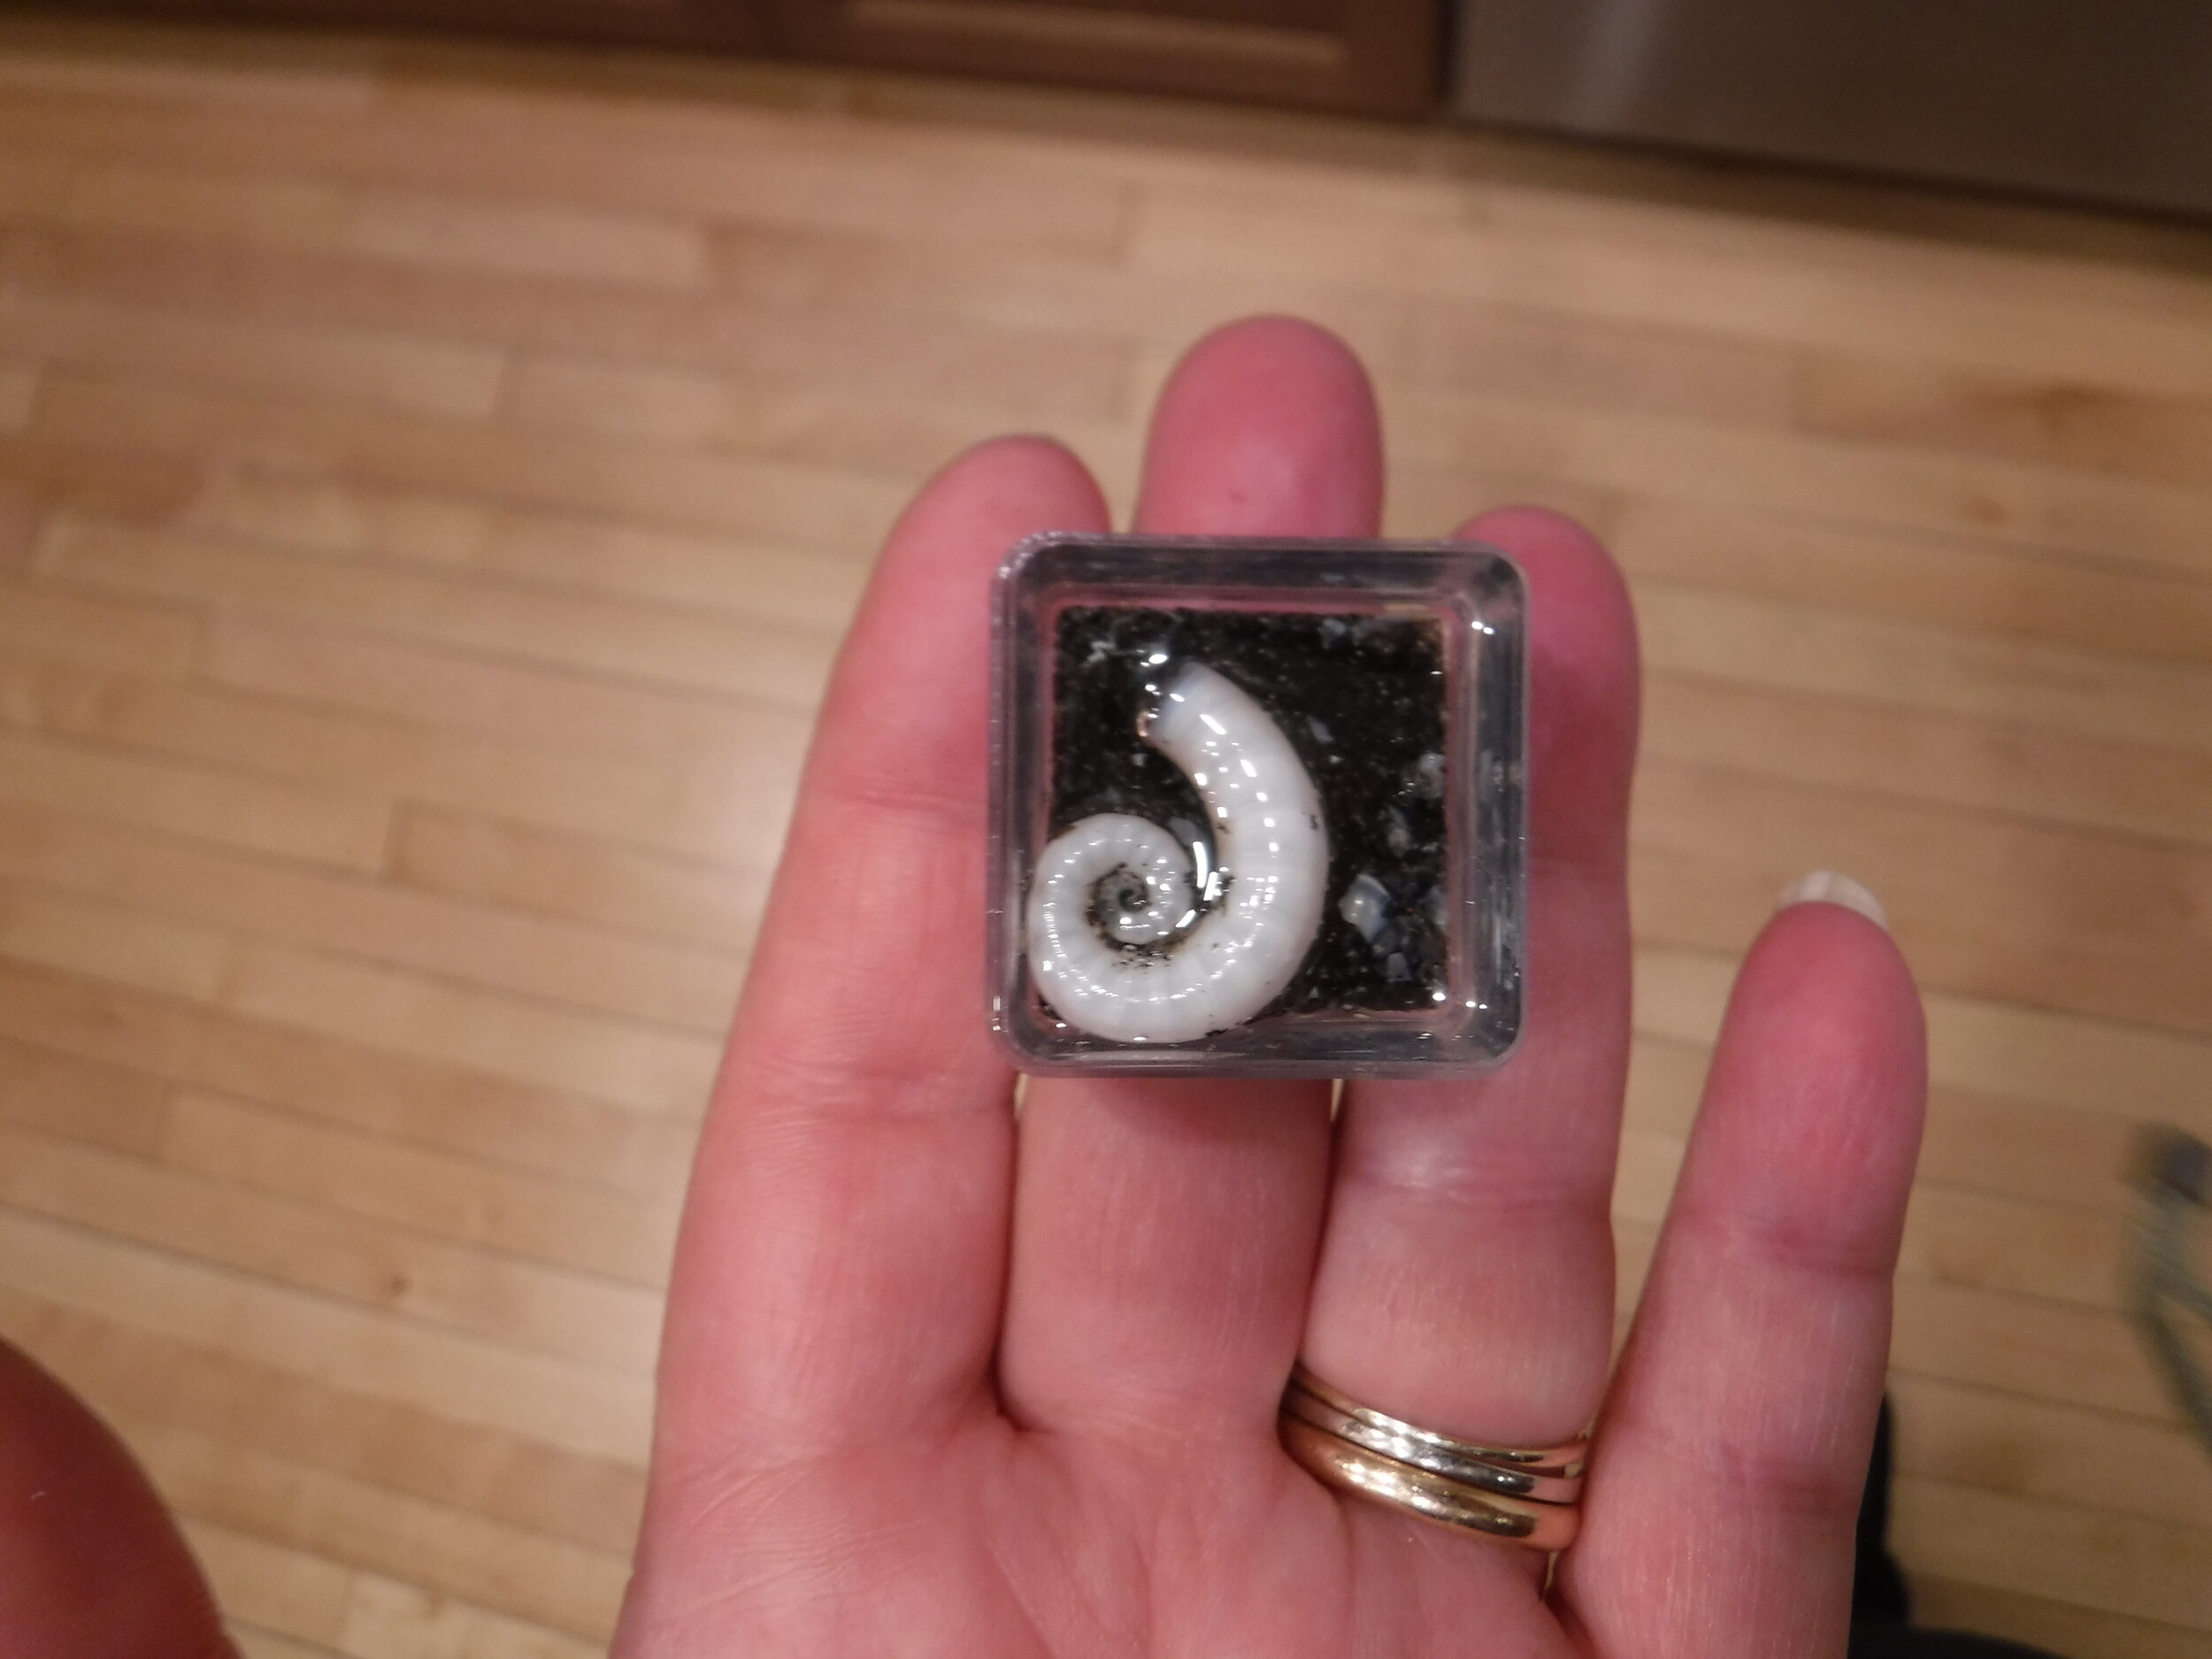
I also poured a small bottle charm, and a small box with some sand and a shell in it from New Zealand. The shell floats to the surface, so next time I’ll pour a small layer and let it set, then pour another layer so the shell is in the middle. I’m not taking it out of the box.


resin two hearts sept 10 2020  jo forrest@

I had to use a hook to pull them out, but they did finally let go of the mold. I’ll use more release agent next time. I really like them. I want to do an egg shape. I might have a mold in my studio somewhere. These have watch parts, and beads as inclusions. I’d also like a resin that cures faster than three days. It’s been hard waiting so long to find out if they worked or not.


resin skulls  sept 10 2020  jo forrest@

On the other hand, the little skulls and the necklaces turned out pretty good. I like them. I’ve been thinking about Halloween lately. I don’t know how that’s going to work with the pandemic. Things could be worse by then. There’s lots of candy in the stores. If I buy some, I’ll eat it, so I’m not going to.


resin tin assemblage   jo forrest 2020@

This is the corned beef lid assemblage, with a layer of resin on top of it. the heart jewel floated up off the surface, but I like it better like this. It has a clear plastic skull sticker from Michael’s, some red dice, a watch spring, and some glitter and a piece of shell with some seaweed attached to it. I have to put a wire hanger on the back somehow. I have lots of tins I could use. I like it.


shell resin  sept 10 2020  jo forrest@

This is a small spiral shell I got from a beach in New Zealand when we were there in 2011. I’m leaving it in the plastic box. I’m not sure it would come out even if I tried to get it out. The shell floated up to the surface of the box, so I might pour a little bit more on top of it, so it’s submerged.


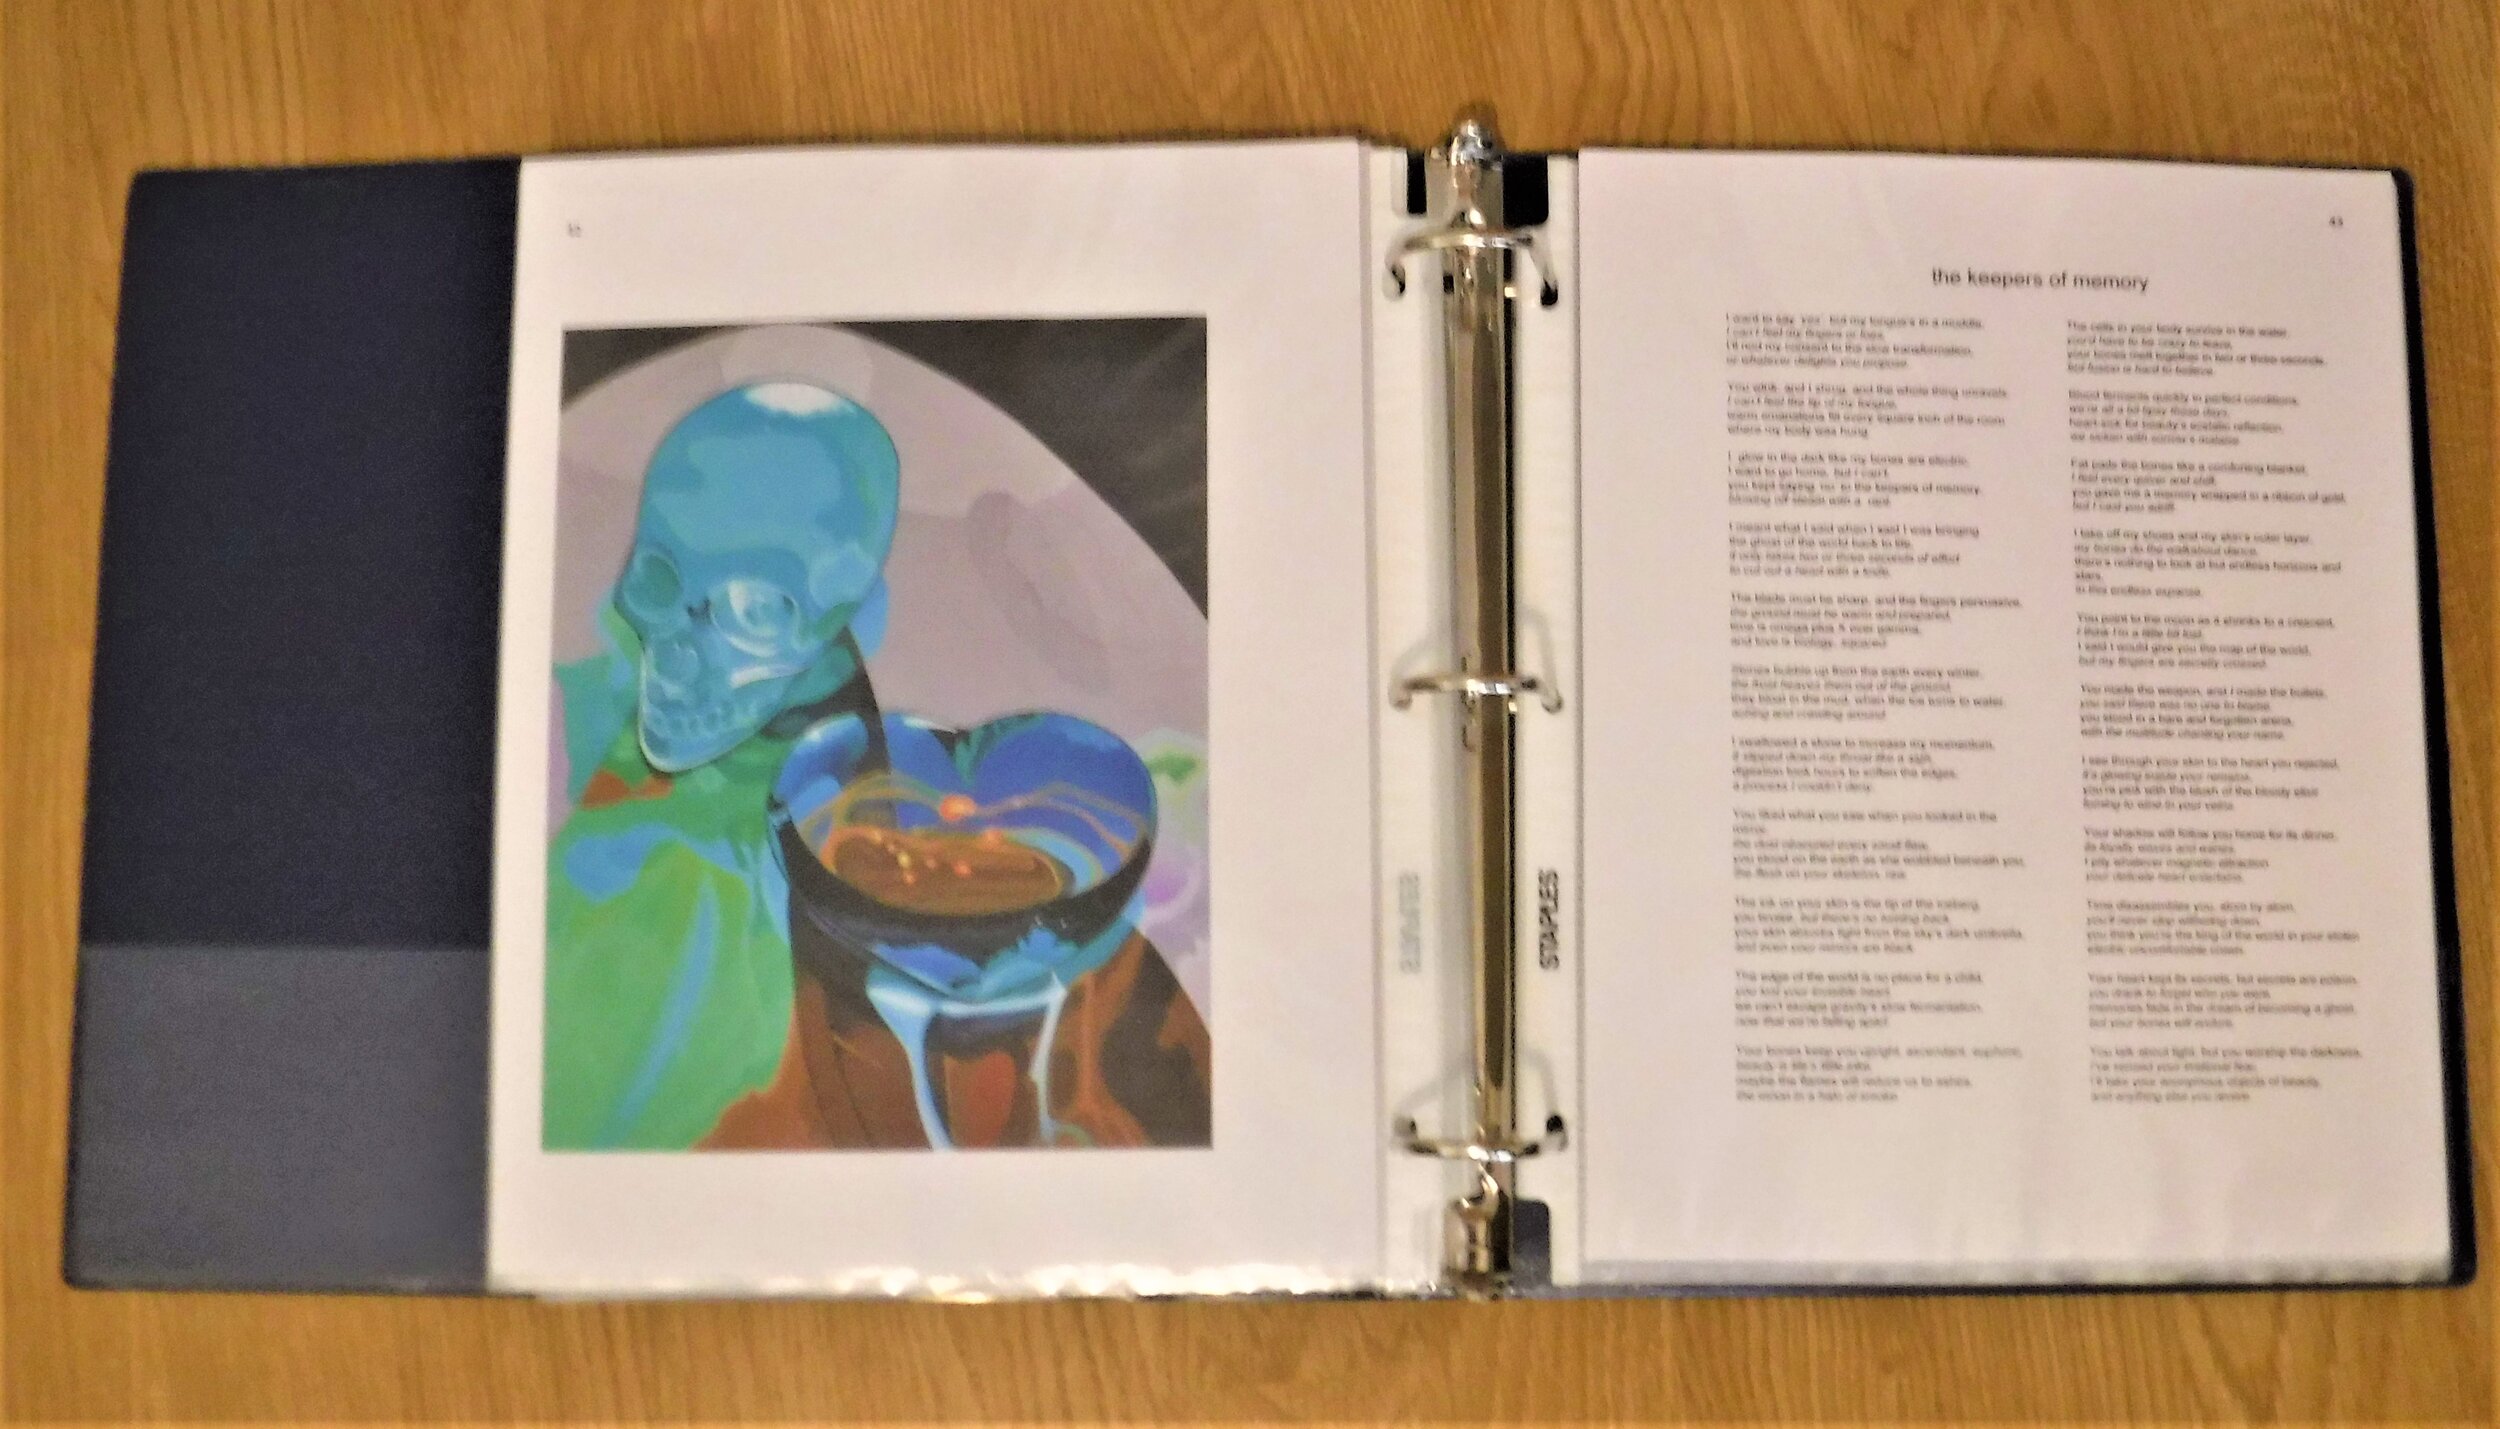
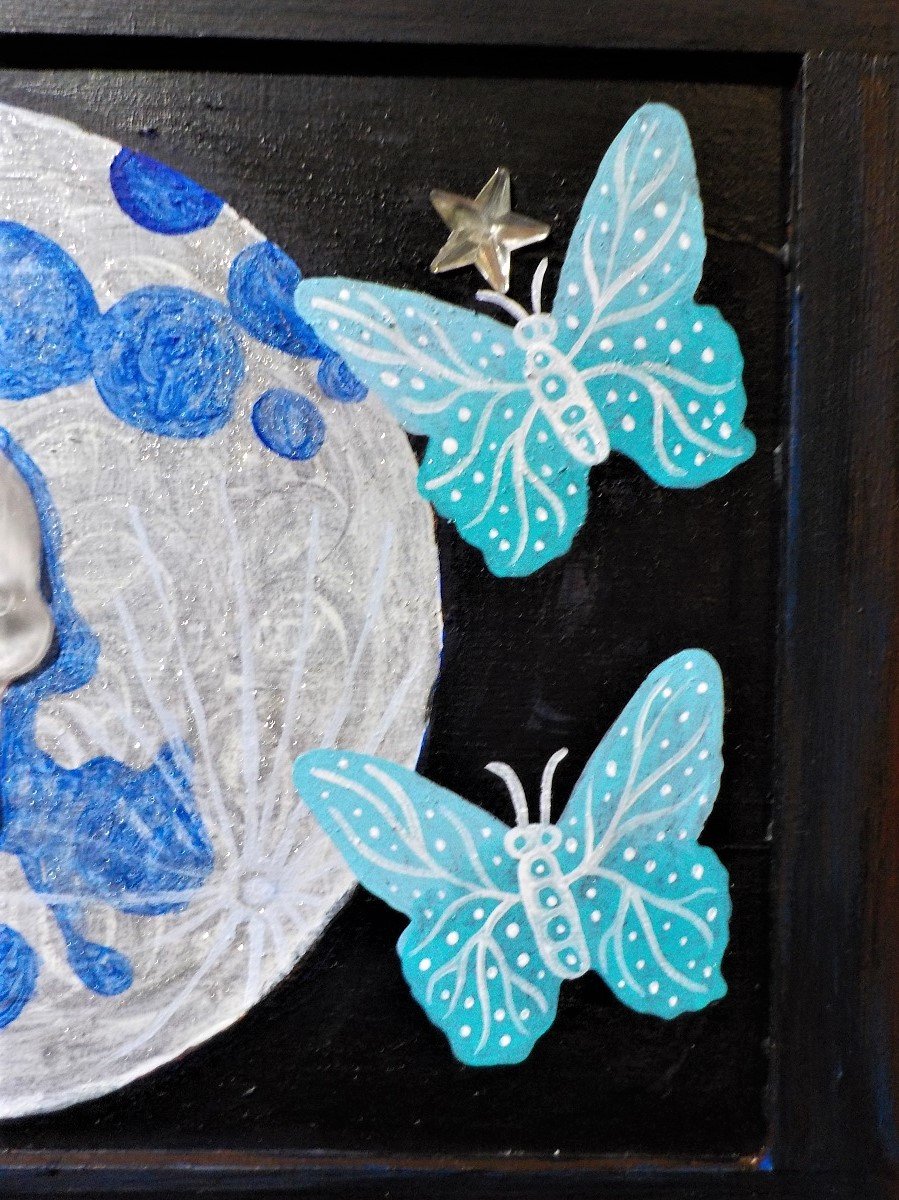
crystal skull, heart painting

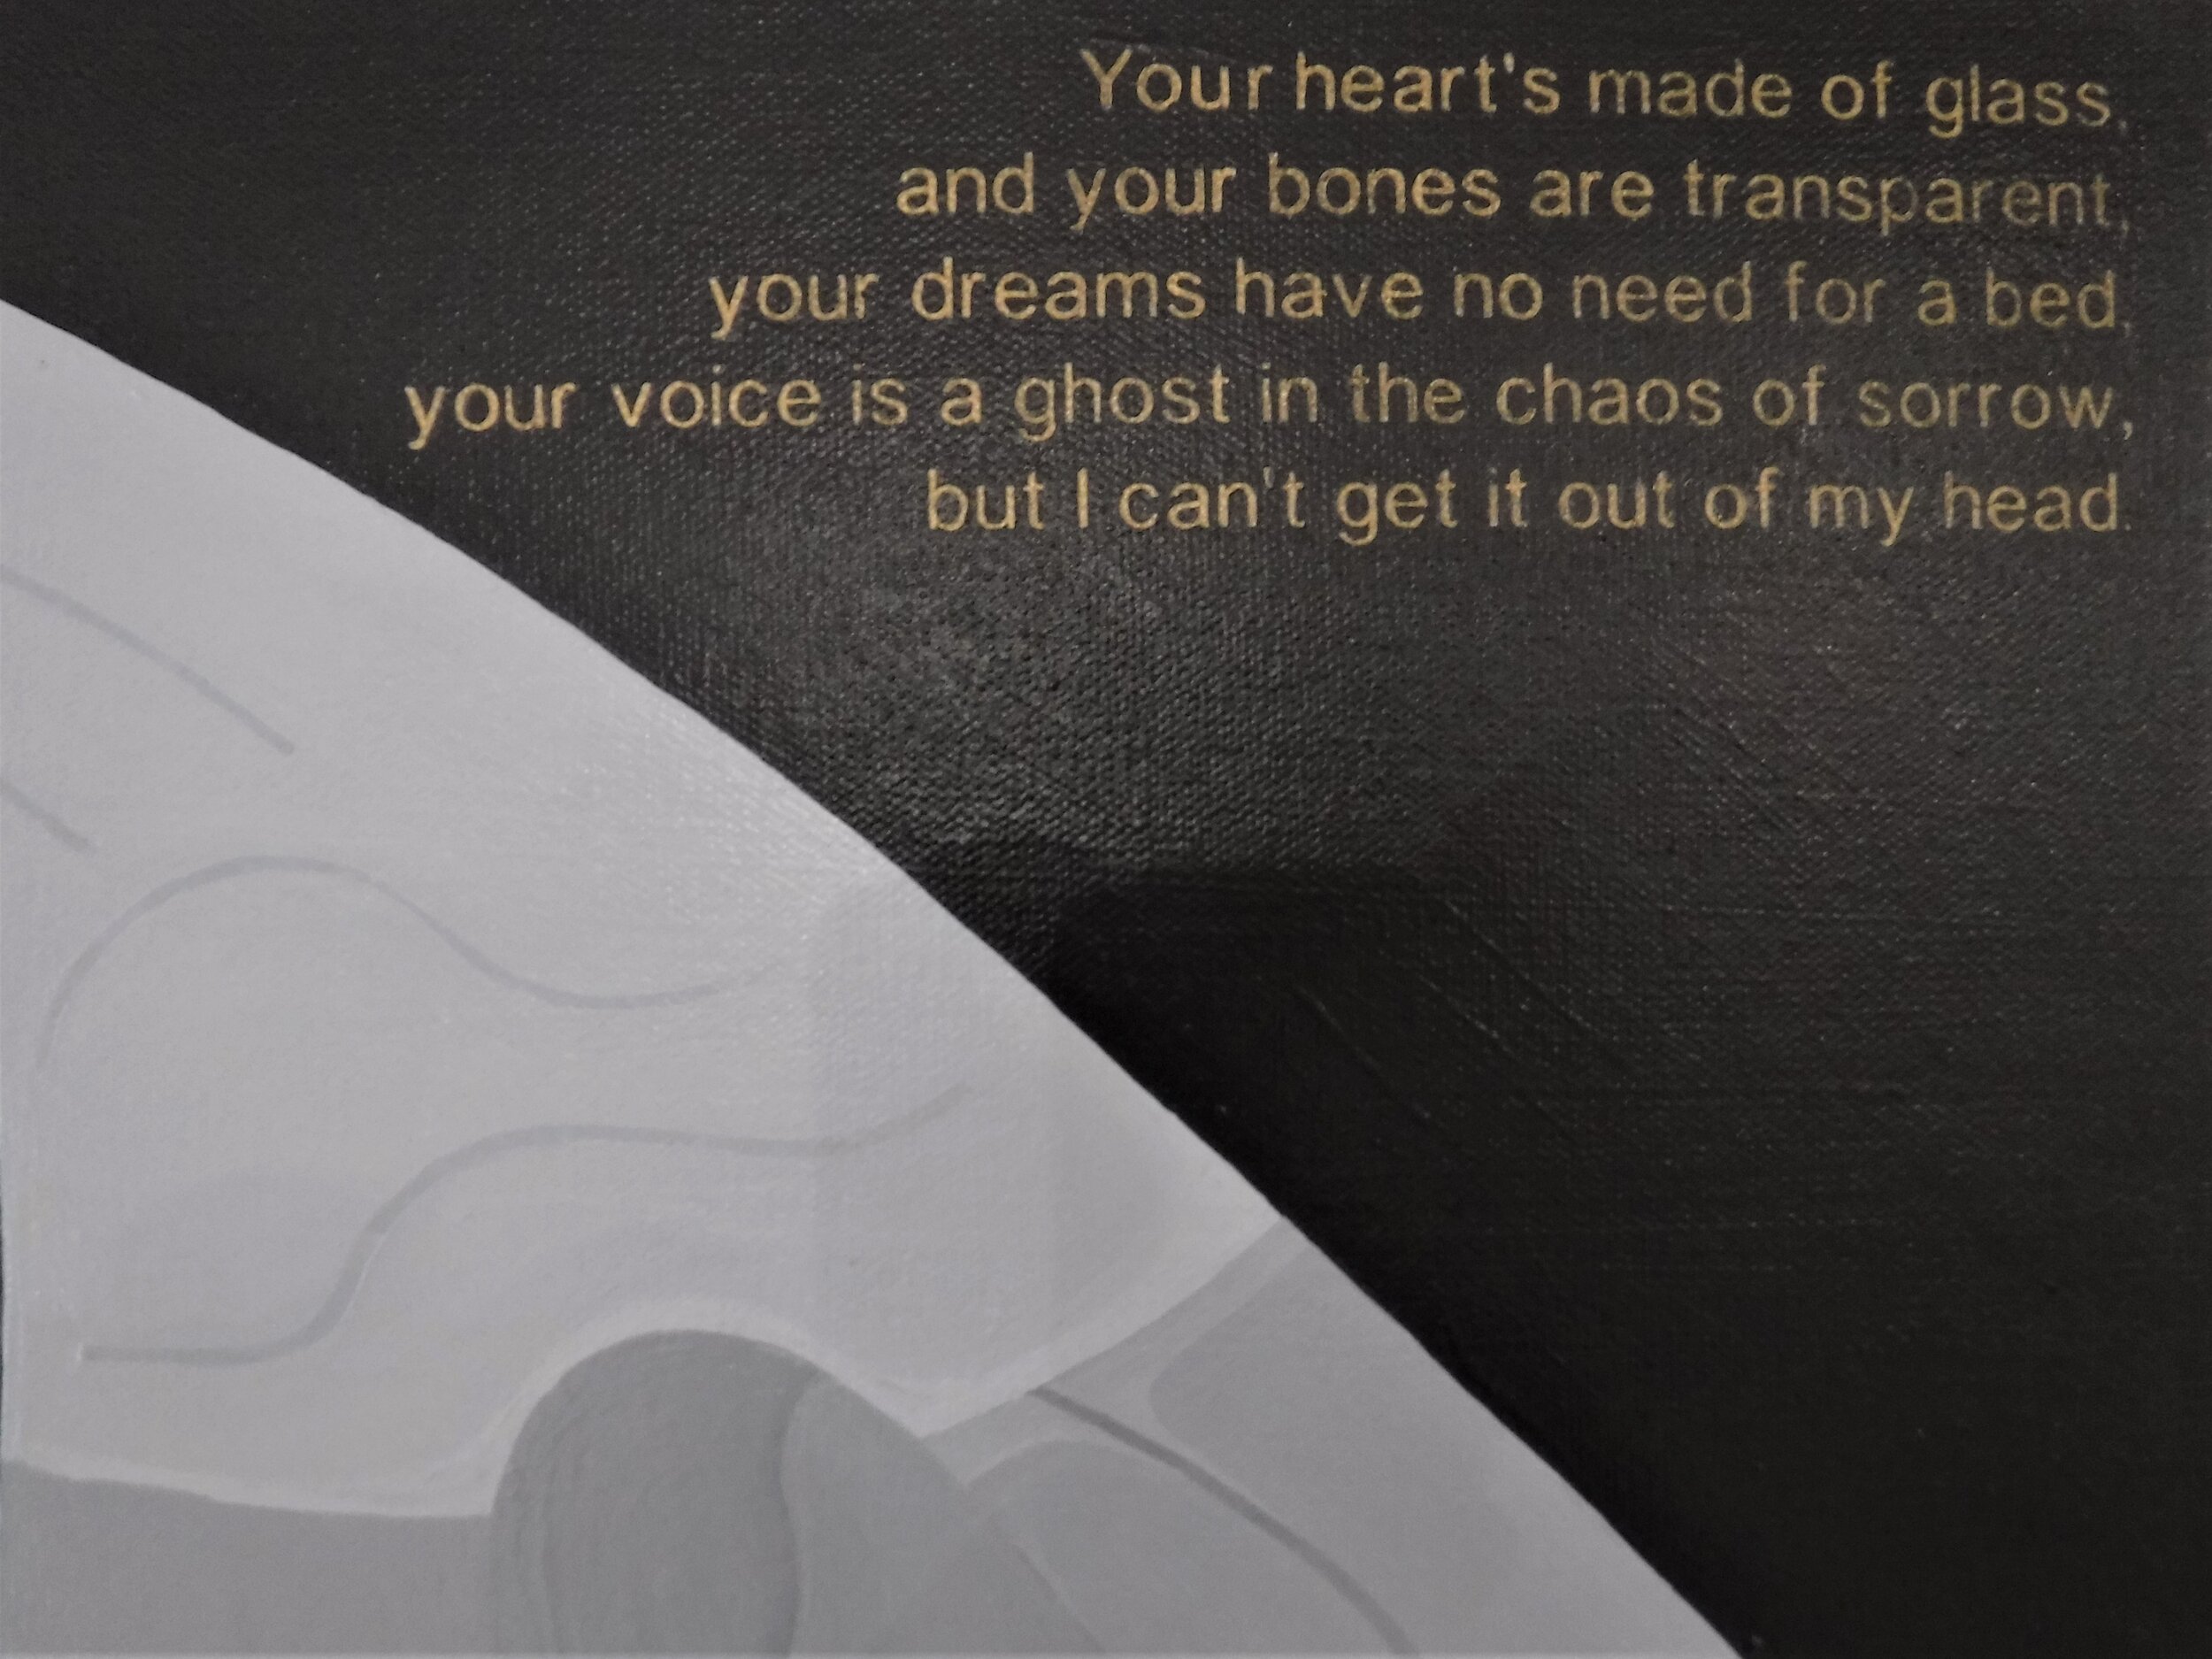
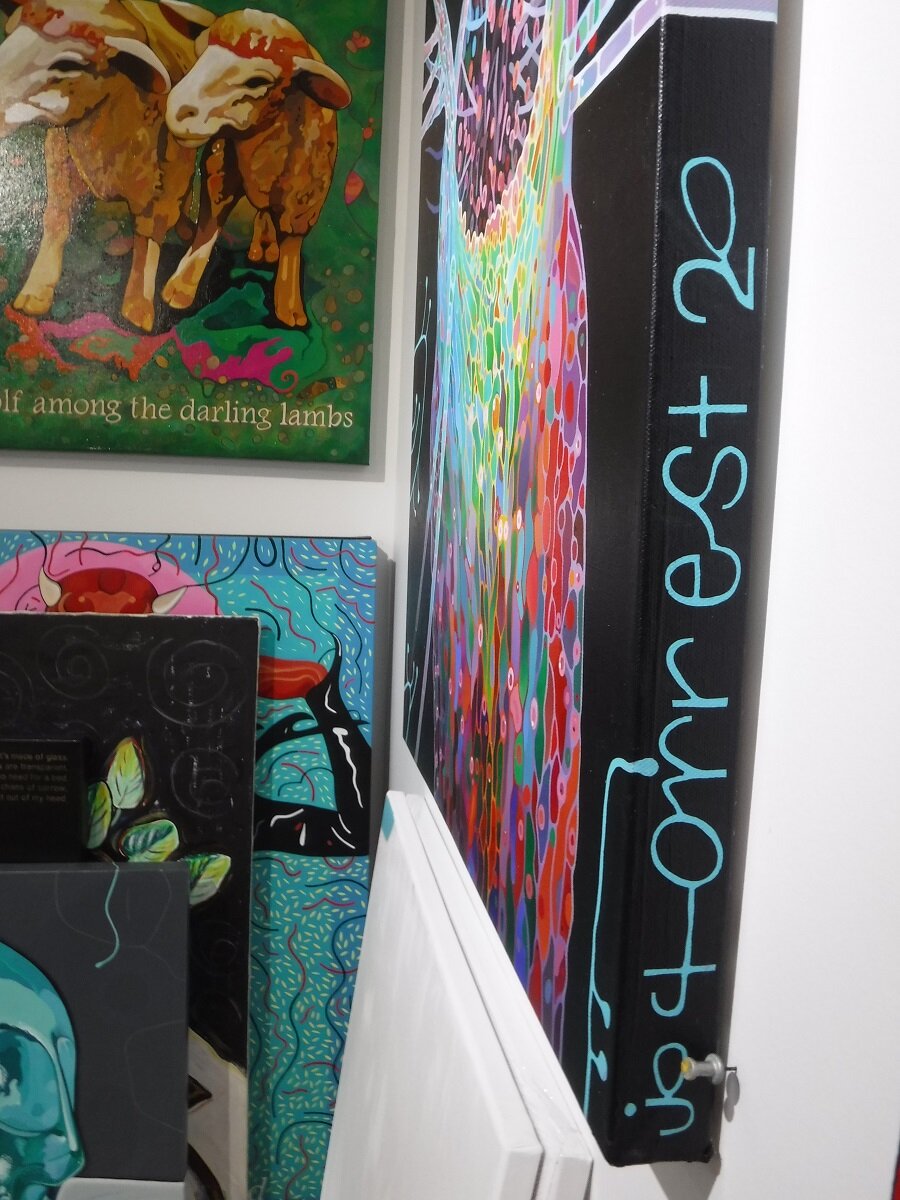
Your heart’s made of glass, and your bones are transparent,

your dreams have no need for a bed,

your voice is a ghost in the chaos of sorrow,

but I can’t get it out of my head.

the keepers of memory #707 v:32

skull heart painting feb 3 2020  jo forrest

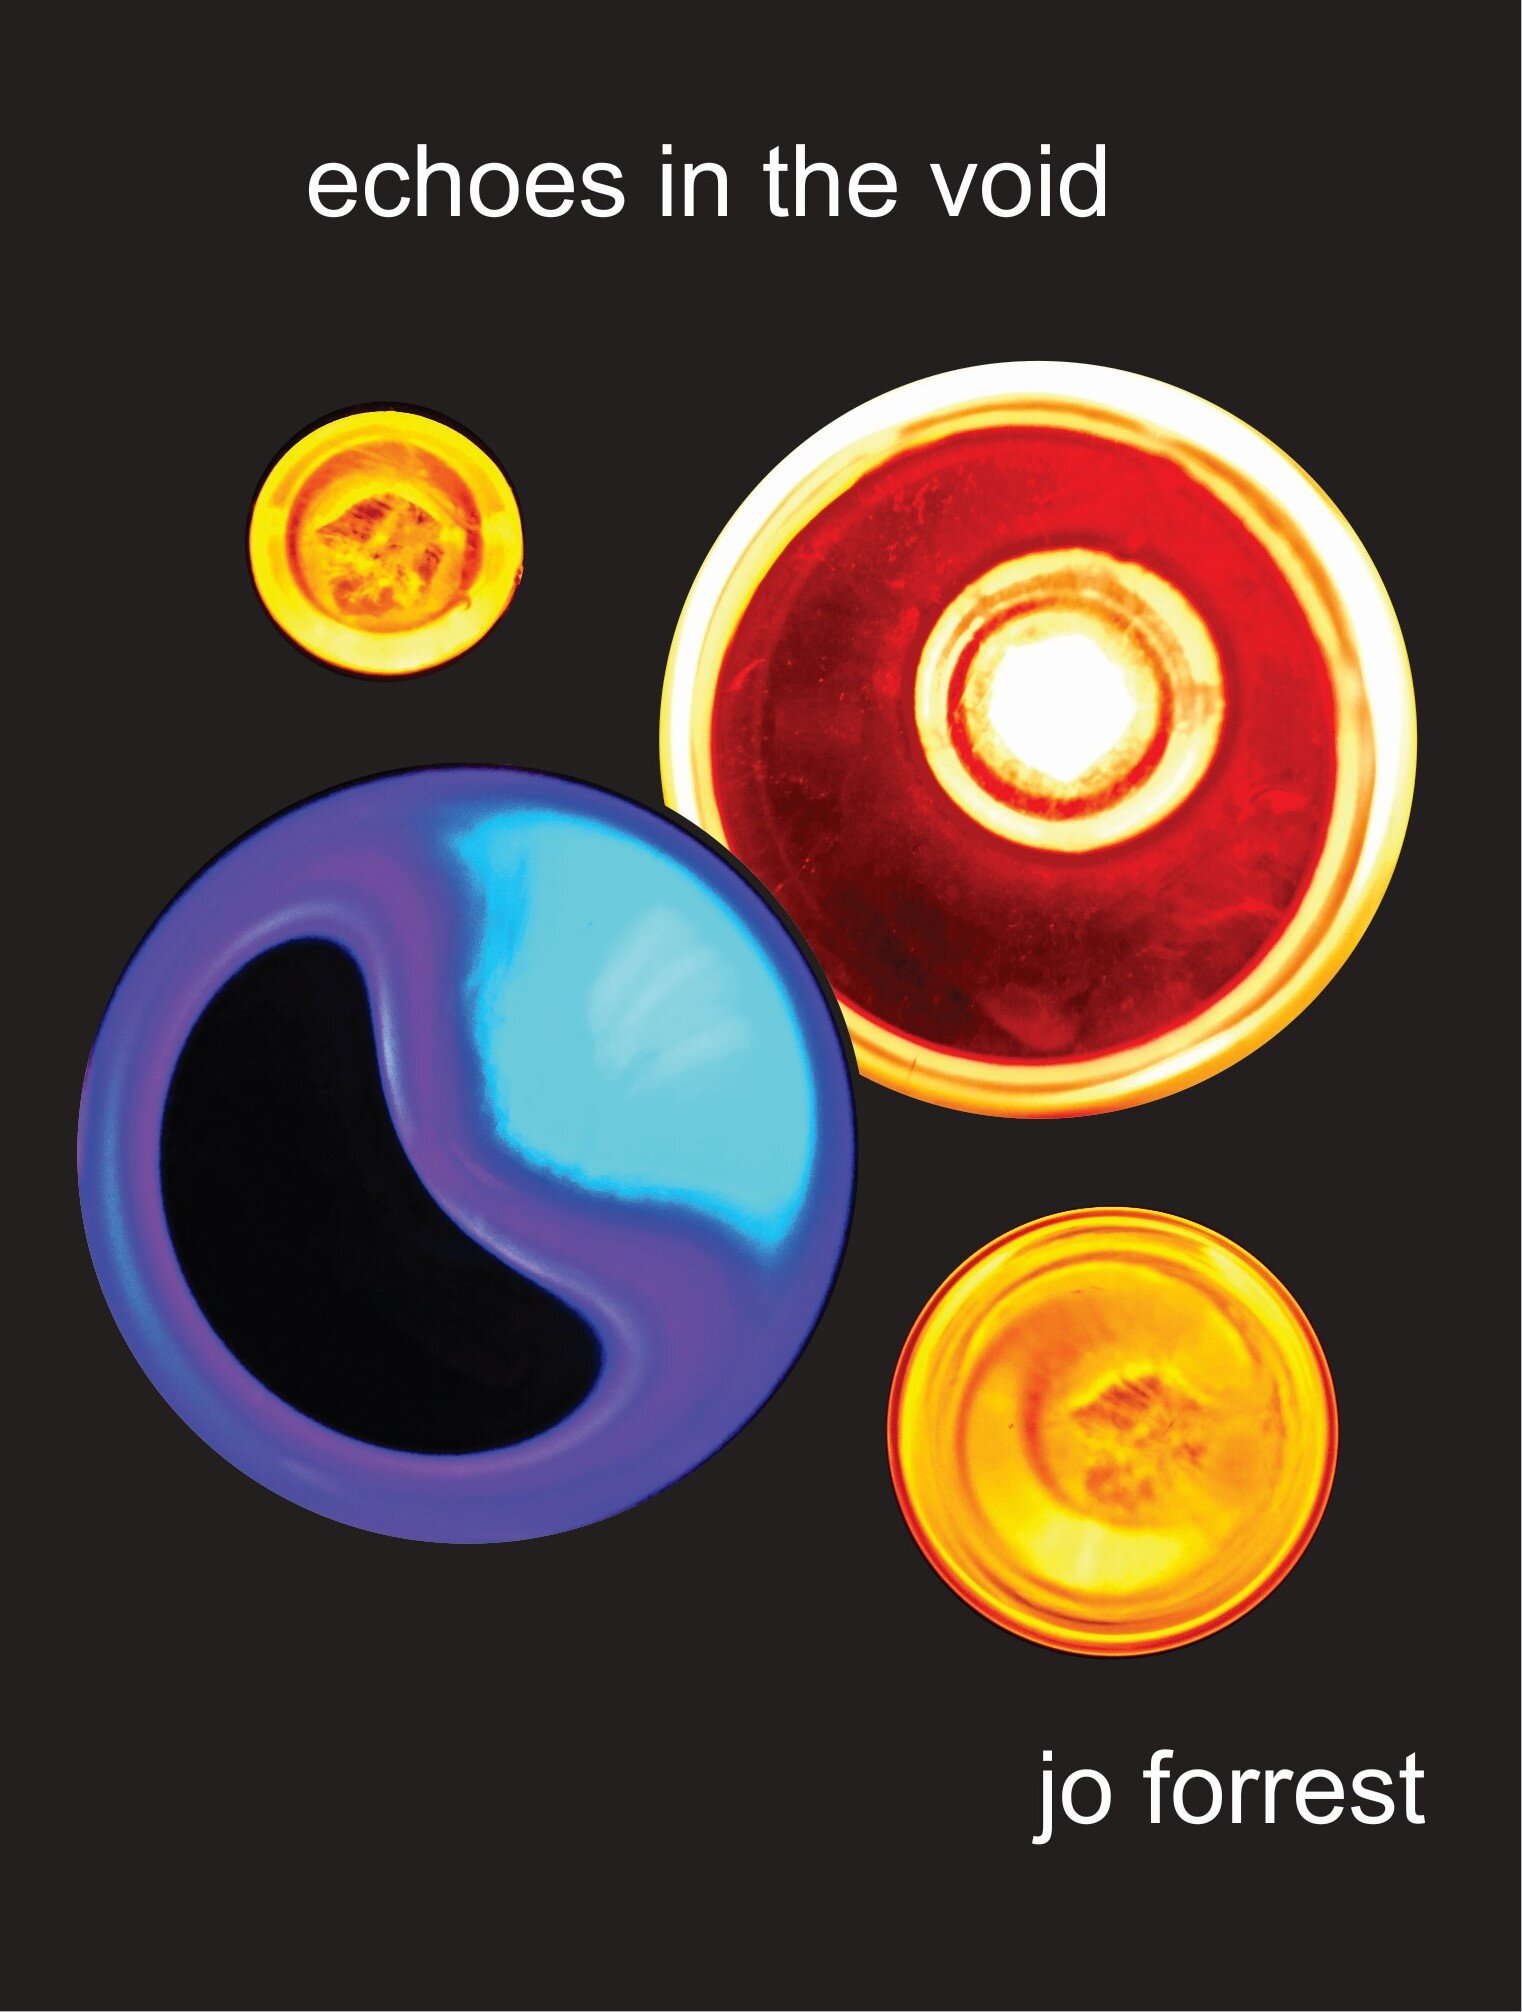
Started the next painting. It’s a painting of a crystal skull and a crystal heart that I own. It goes with the painting of the crystal skull for the new book, echoes in the void.


crystal skull, heart painting  jo forrest 2020

Most of the background is done. I still need to do the top, behind the skull and the heart. I like it so far. I see a line that needs to be corrected, but otherwise, so far so good.


Feb 9 2020 crystal skull, heart painting  jo forrest 2020.

A few more hours work. I’m keeping track of how much time this painting is taking, just for fun.


Feb 10 crystal skull, heart painting  jo forrest 2020

Three more hours work. Lots to do yet. This one is going into the new book, which is progressing slowly, but steadily. It’s not as hard as my first book. Once I figured out how to use the Word program, it got much easier. That was a long upward learning curve.


Feb 20 2020 jo forrest

Finished, except for the varnish, and maybe a few touch-ups here and there. Well, it’s signed, so it must be finished. I’m going to use a satin varnish, and see what it looks like. I find the gloss varnish reflects too much light from the windows.

video the keepers of memory  jo forrest  2020

Added the text. I made a stencil with my Cricut Maker, and stenciled gold paint through it, twice. I did a layer of black paint over that, thinned with some varnish, just to knock it back a bit. It’s hard to take a good picture.


crystal skull and heart for painting  jo forrest 2020

The original photograph. Taken at night, with a flashlight behind the skull and heart. They’re small, about two by two inches, more or less.


Crystal ball

Photographs taken with my crystal ball.


crystal ball photo  jo forrest 2020

Crystal ball in the hedge behind the house. Snow in the background.


crystal ball mesh  jo forrest 2020

Crystal ball in front of the mesh in the window in the back addition.


crystal ball dragonfly  jo forrest 2020

Stained glass dragonfly window through the crystal ball lens.


Cricut...say Cricket.

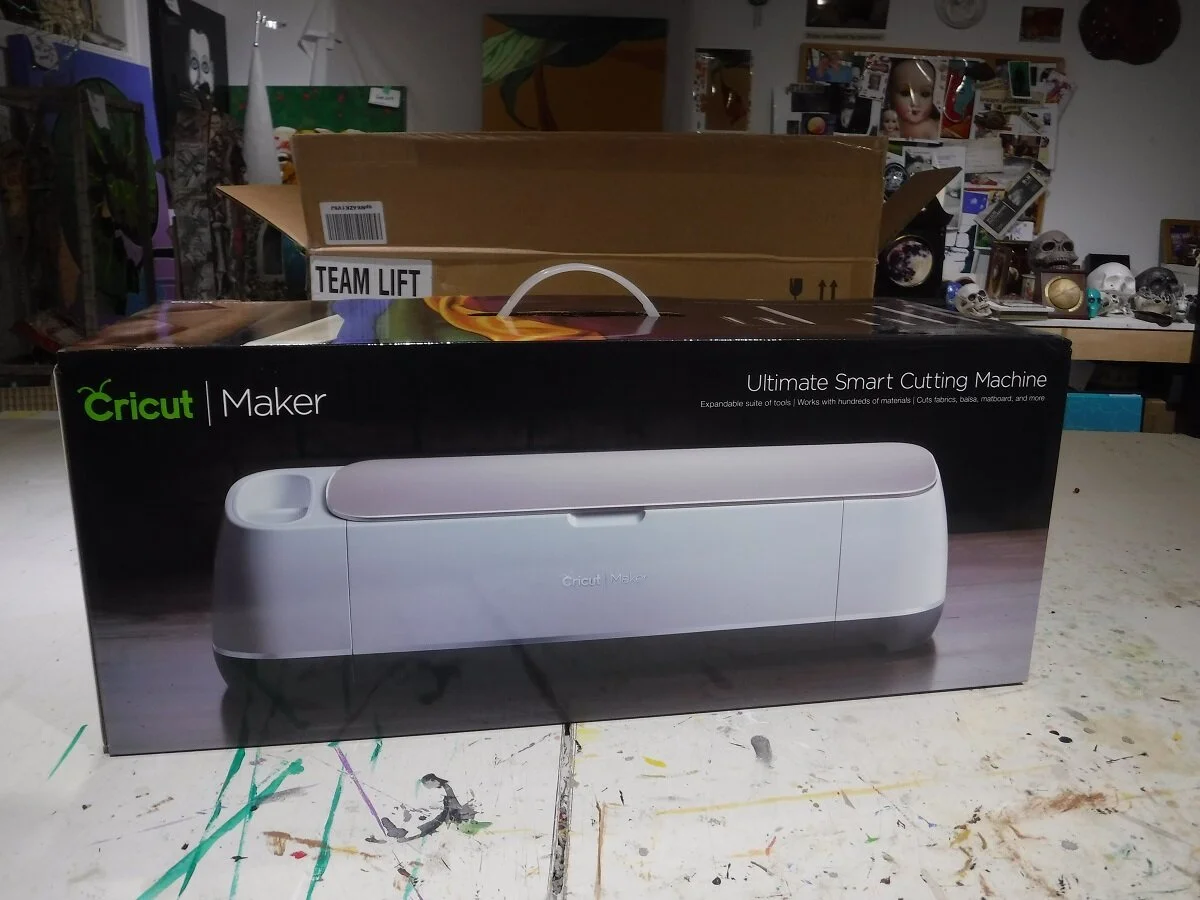
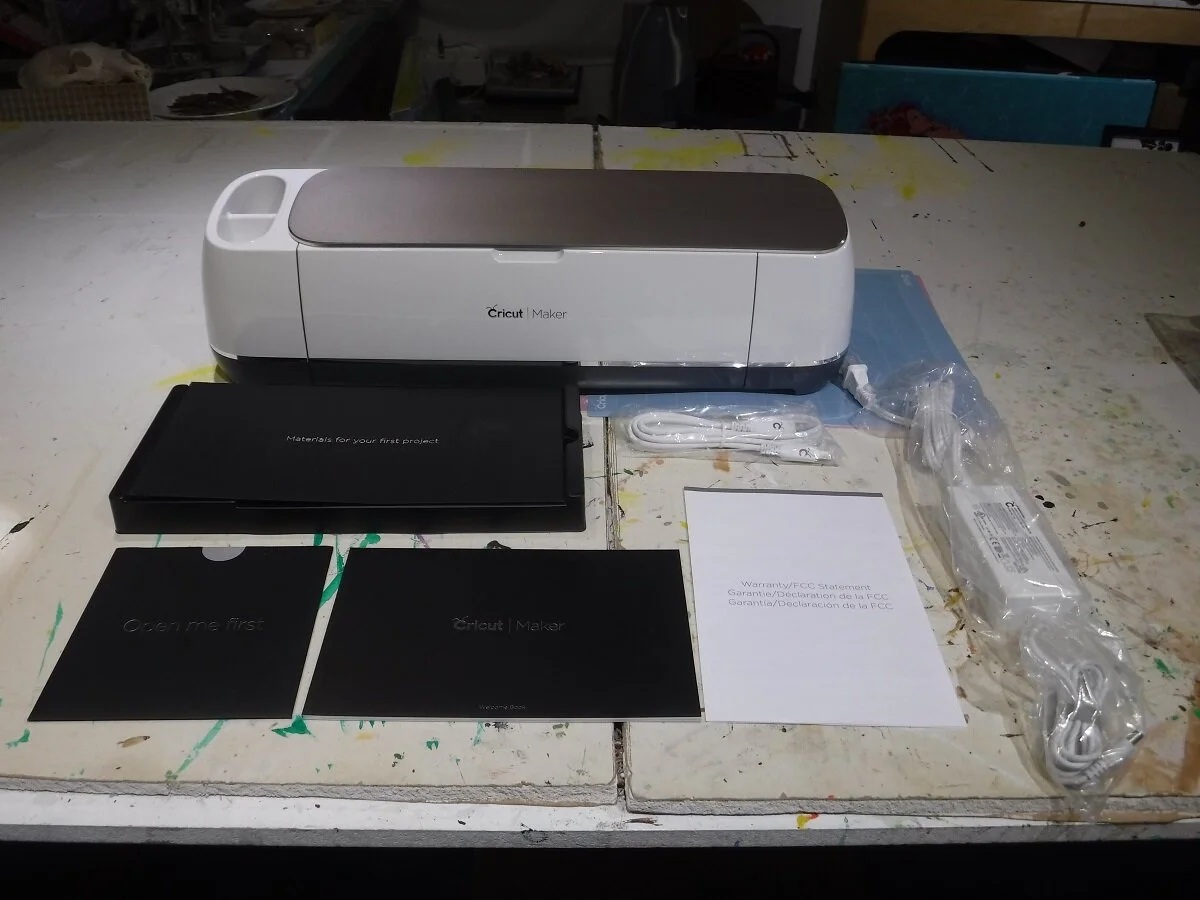
Got a Cricut Maker for Christmas. It’s out of the box, and plugged in, but that’s as far as I got.


Cricut box  jo forrest 2019
Cricut opened

The box opened, and the Maker removed.


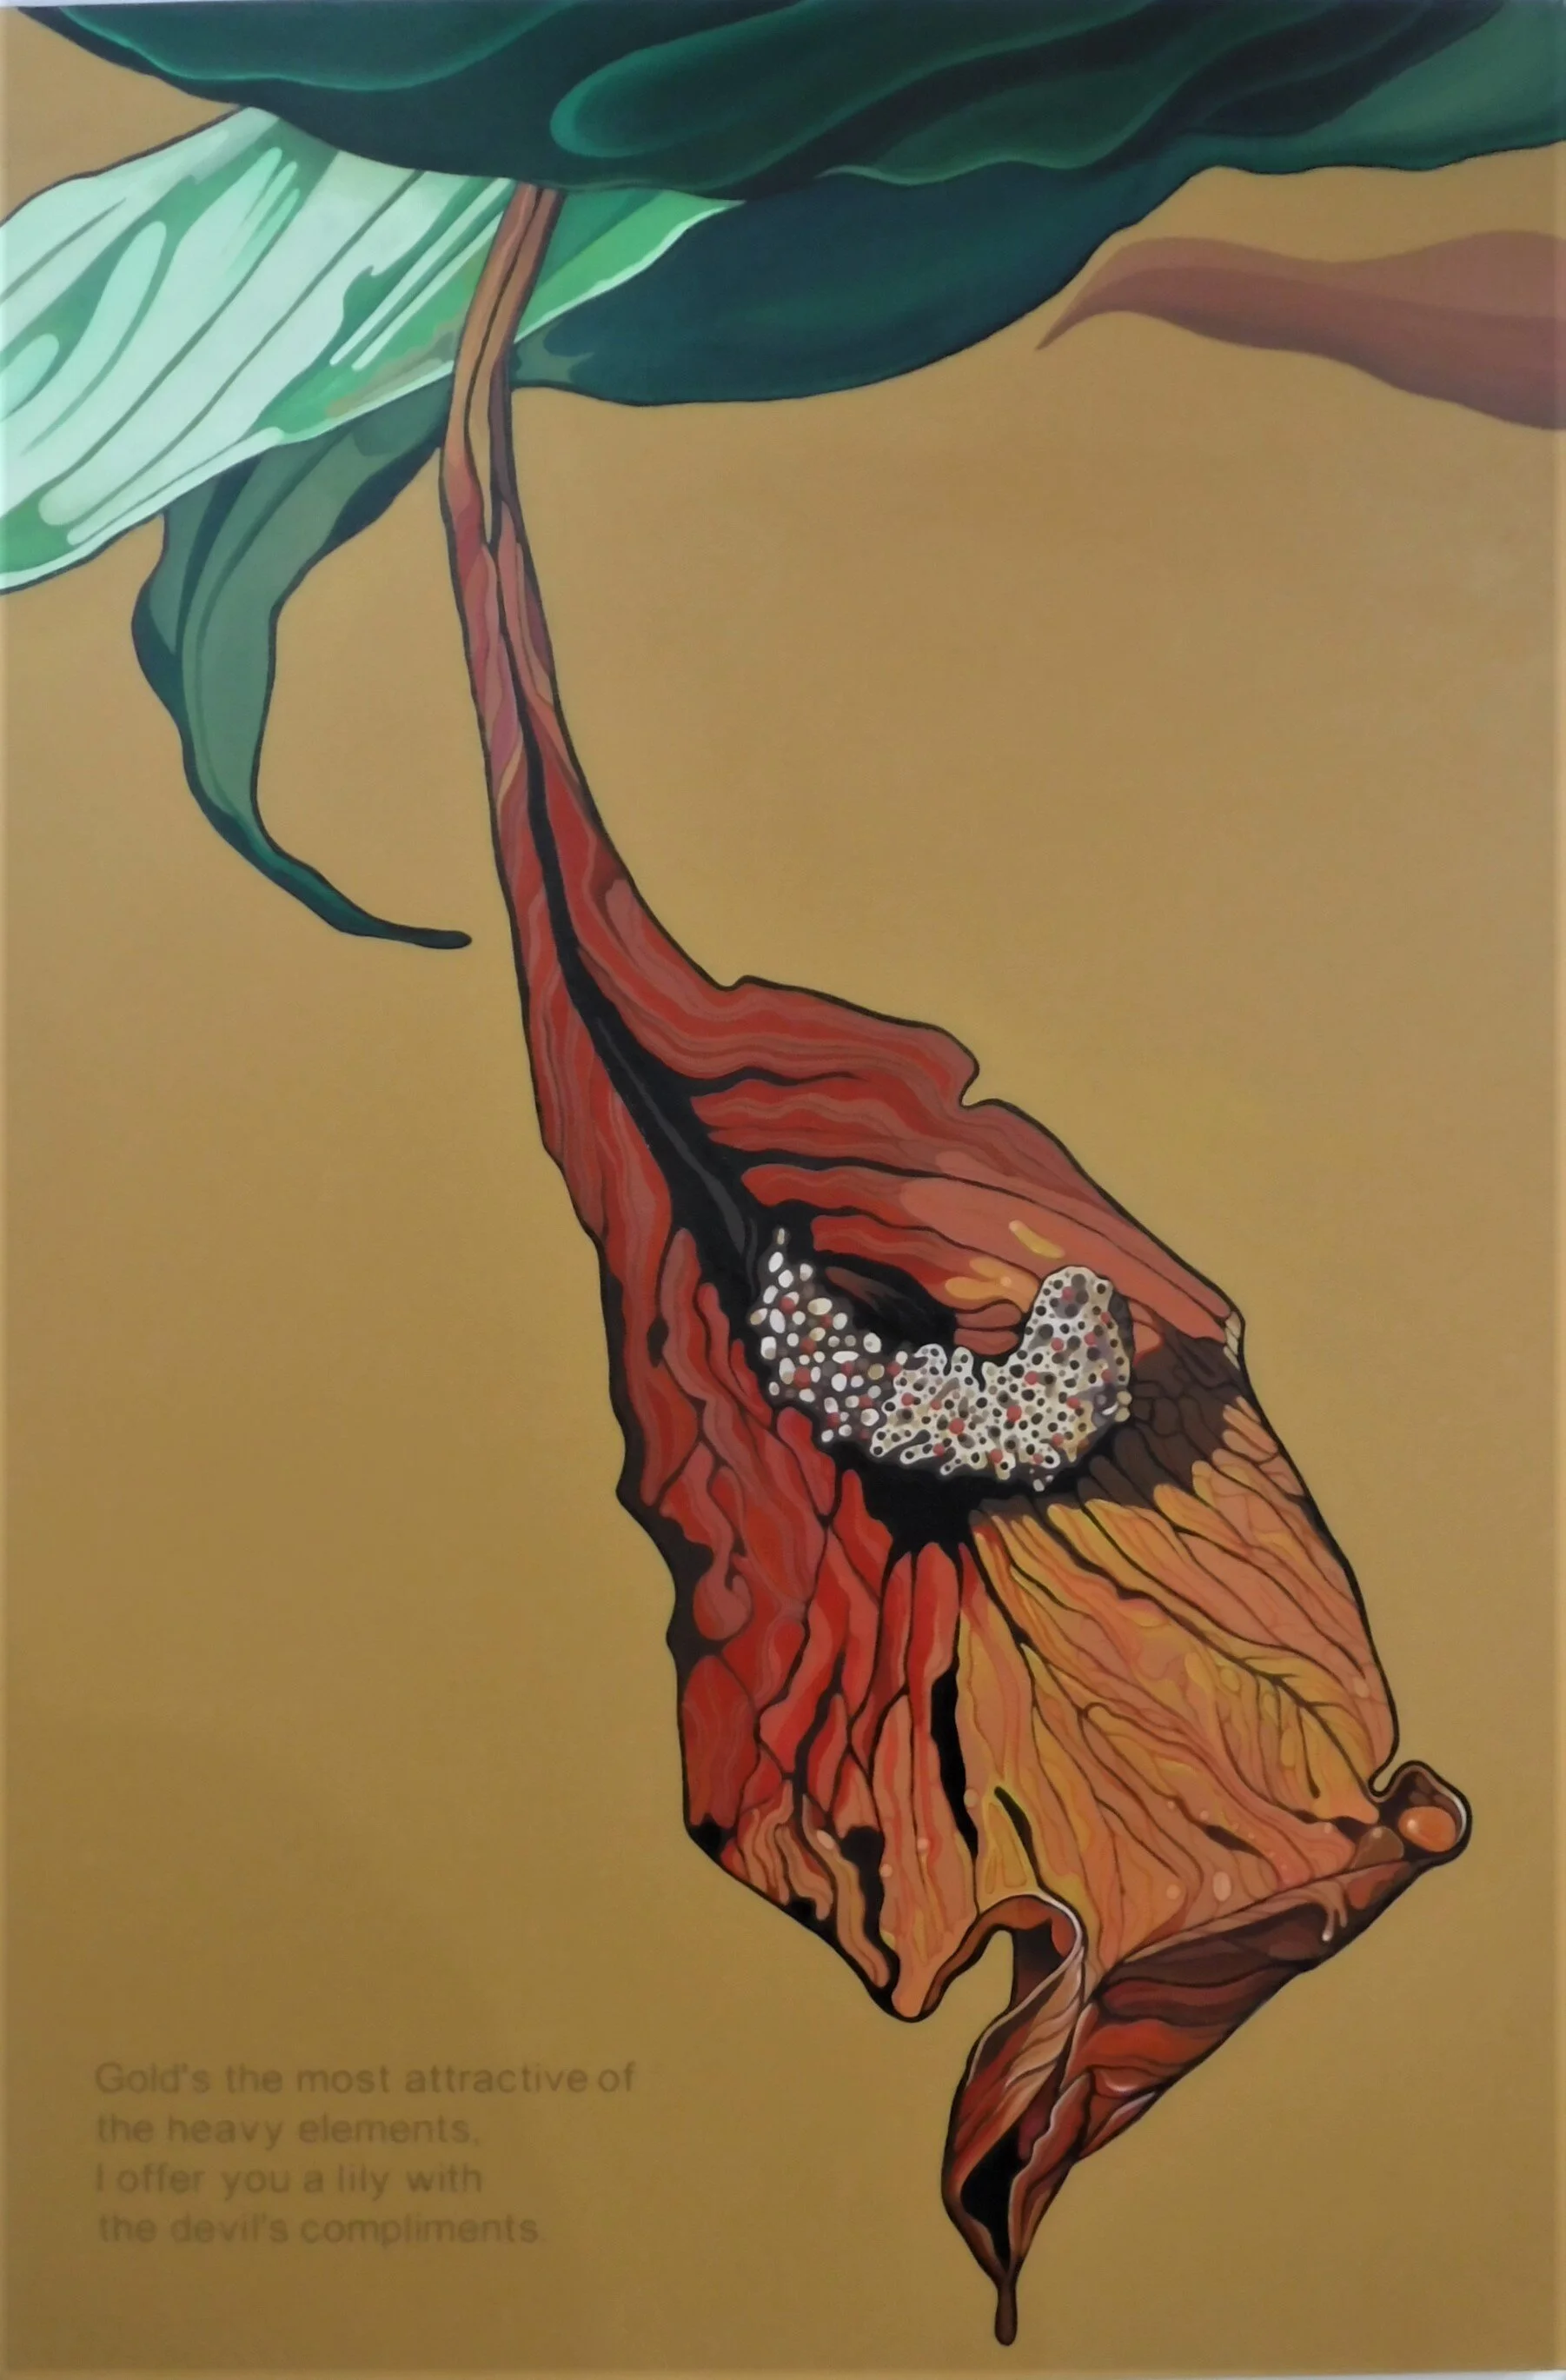
peace lily  jo forrest 2019

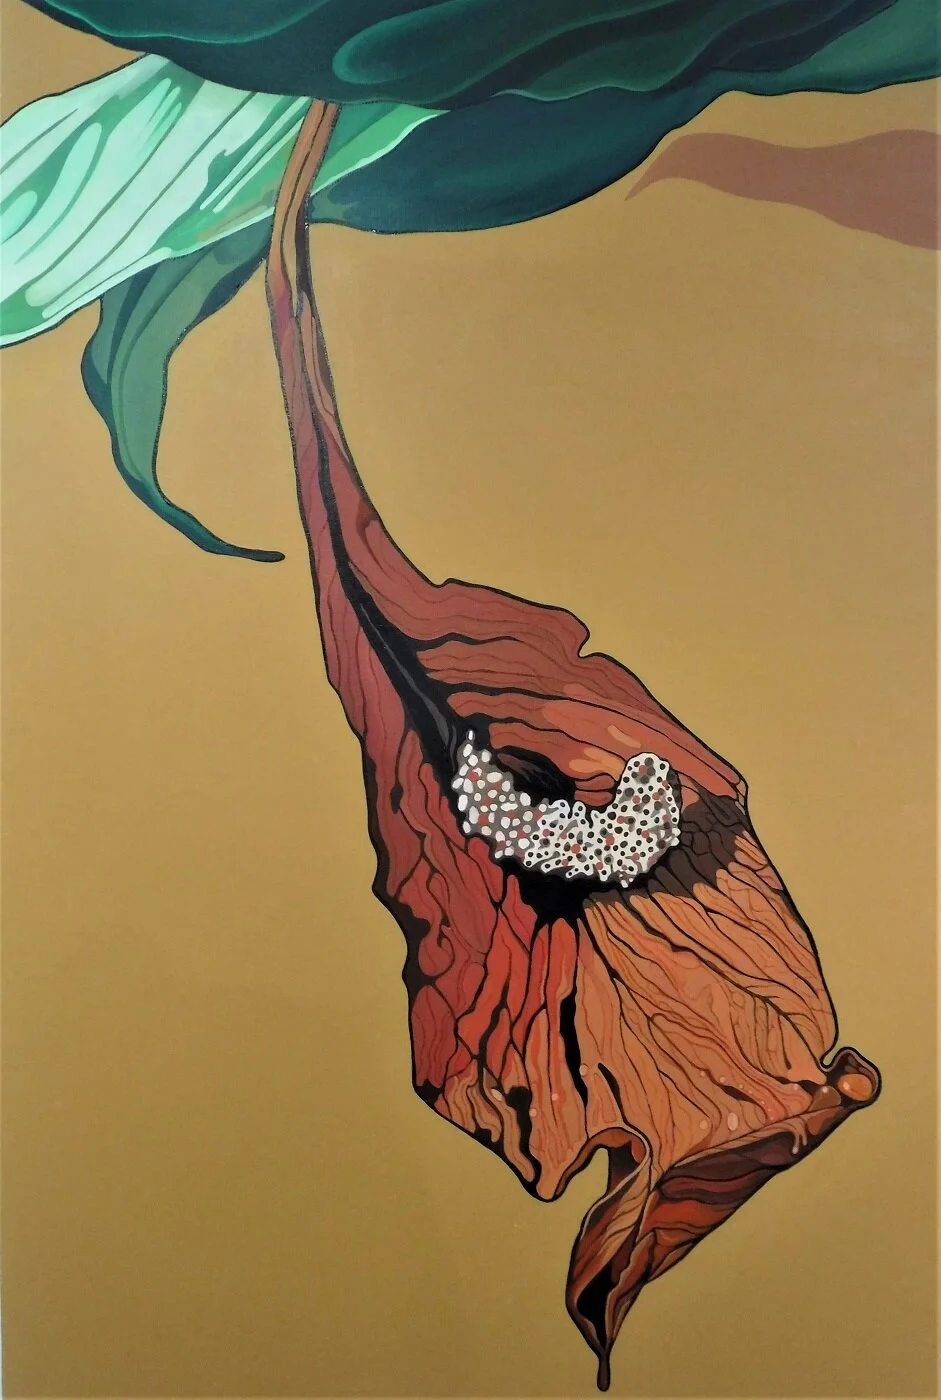
This is the painting I want to apply text to. I think it will go in the bottom left corner.


Cricut smile

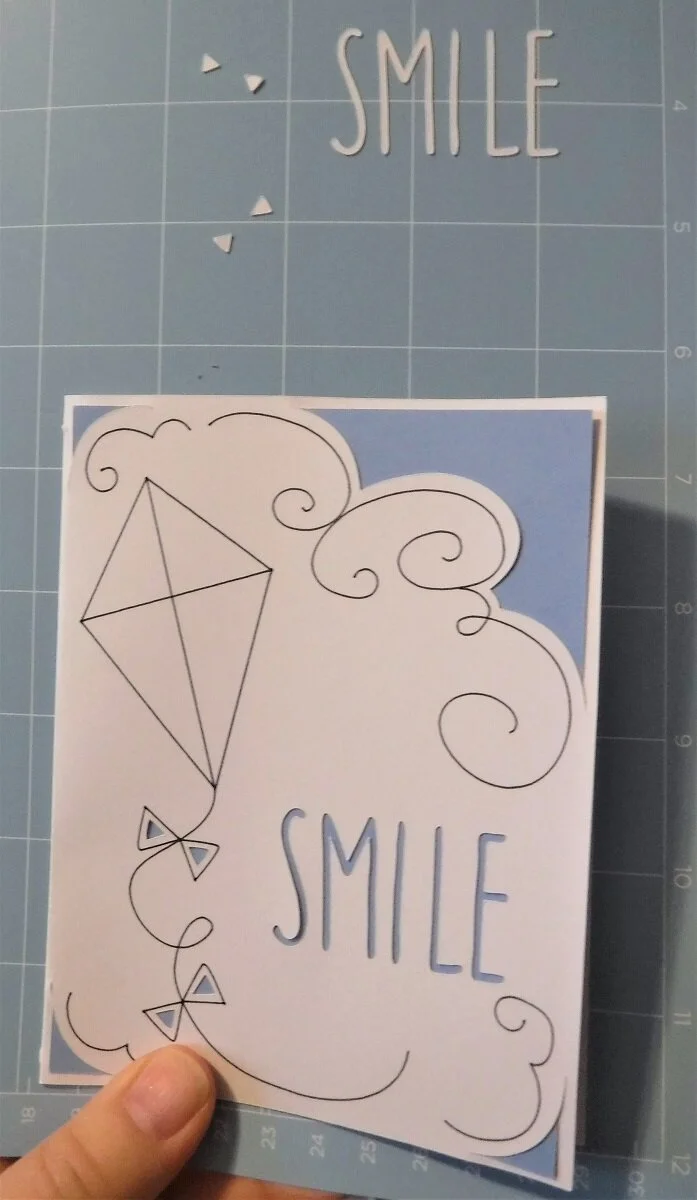
Managed to get this far, with the products included with the machine. Tried cutting a stencil from a clear vinyl, but it didn’t work. The letters didn’t stick to the mat. I’m going to have to get the proper vinyl and try that.


Tried cutting a thick stencil vinyl from Silhouette, but that didn’t work. It didn’t cut through the vinyl. I changed the setting to ‘stencil vinyl’, but that didn’t work either. I have some Silhouette vinyl, which I think must be too thick. You can increase the pressure of the blade, but I haven’t tried that yet. I also ordered Cricut Stencil Vinyl from Amazon, so we’ll see what happens when I try that. It’s supposed to come on Saturday, but they often deliver faster than that, so I’ll have to keep an eye out for it. It cuts well, just not all the way through. Maybe the regular vinyl would work, but I didn’t buy any to try it. Not annoyed yet.


peace lily stencil text  jo forrest 2020

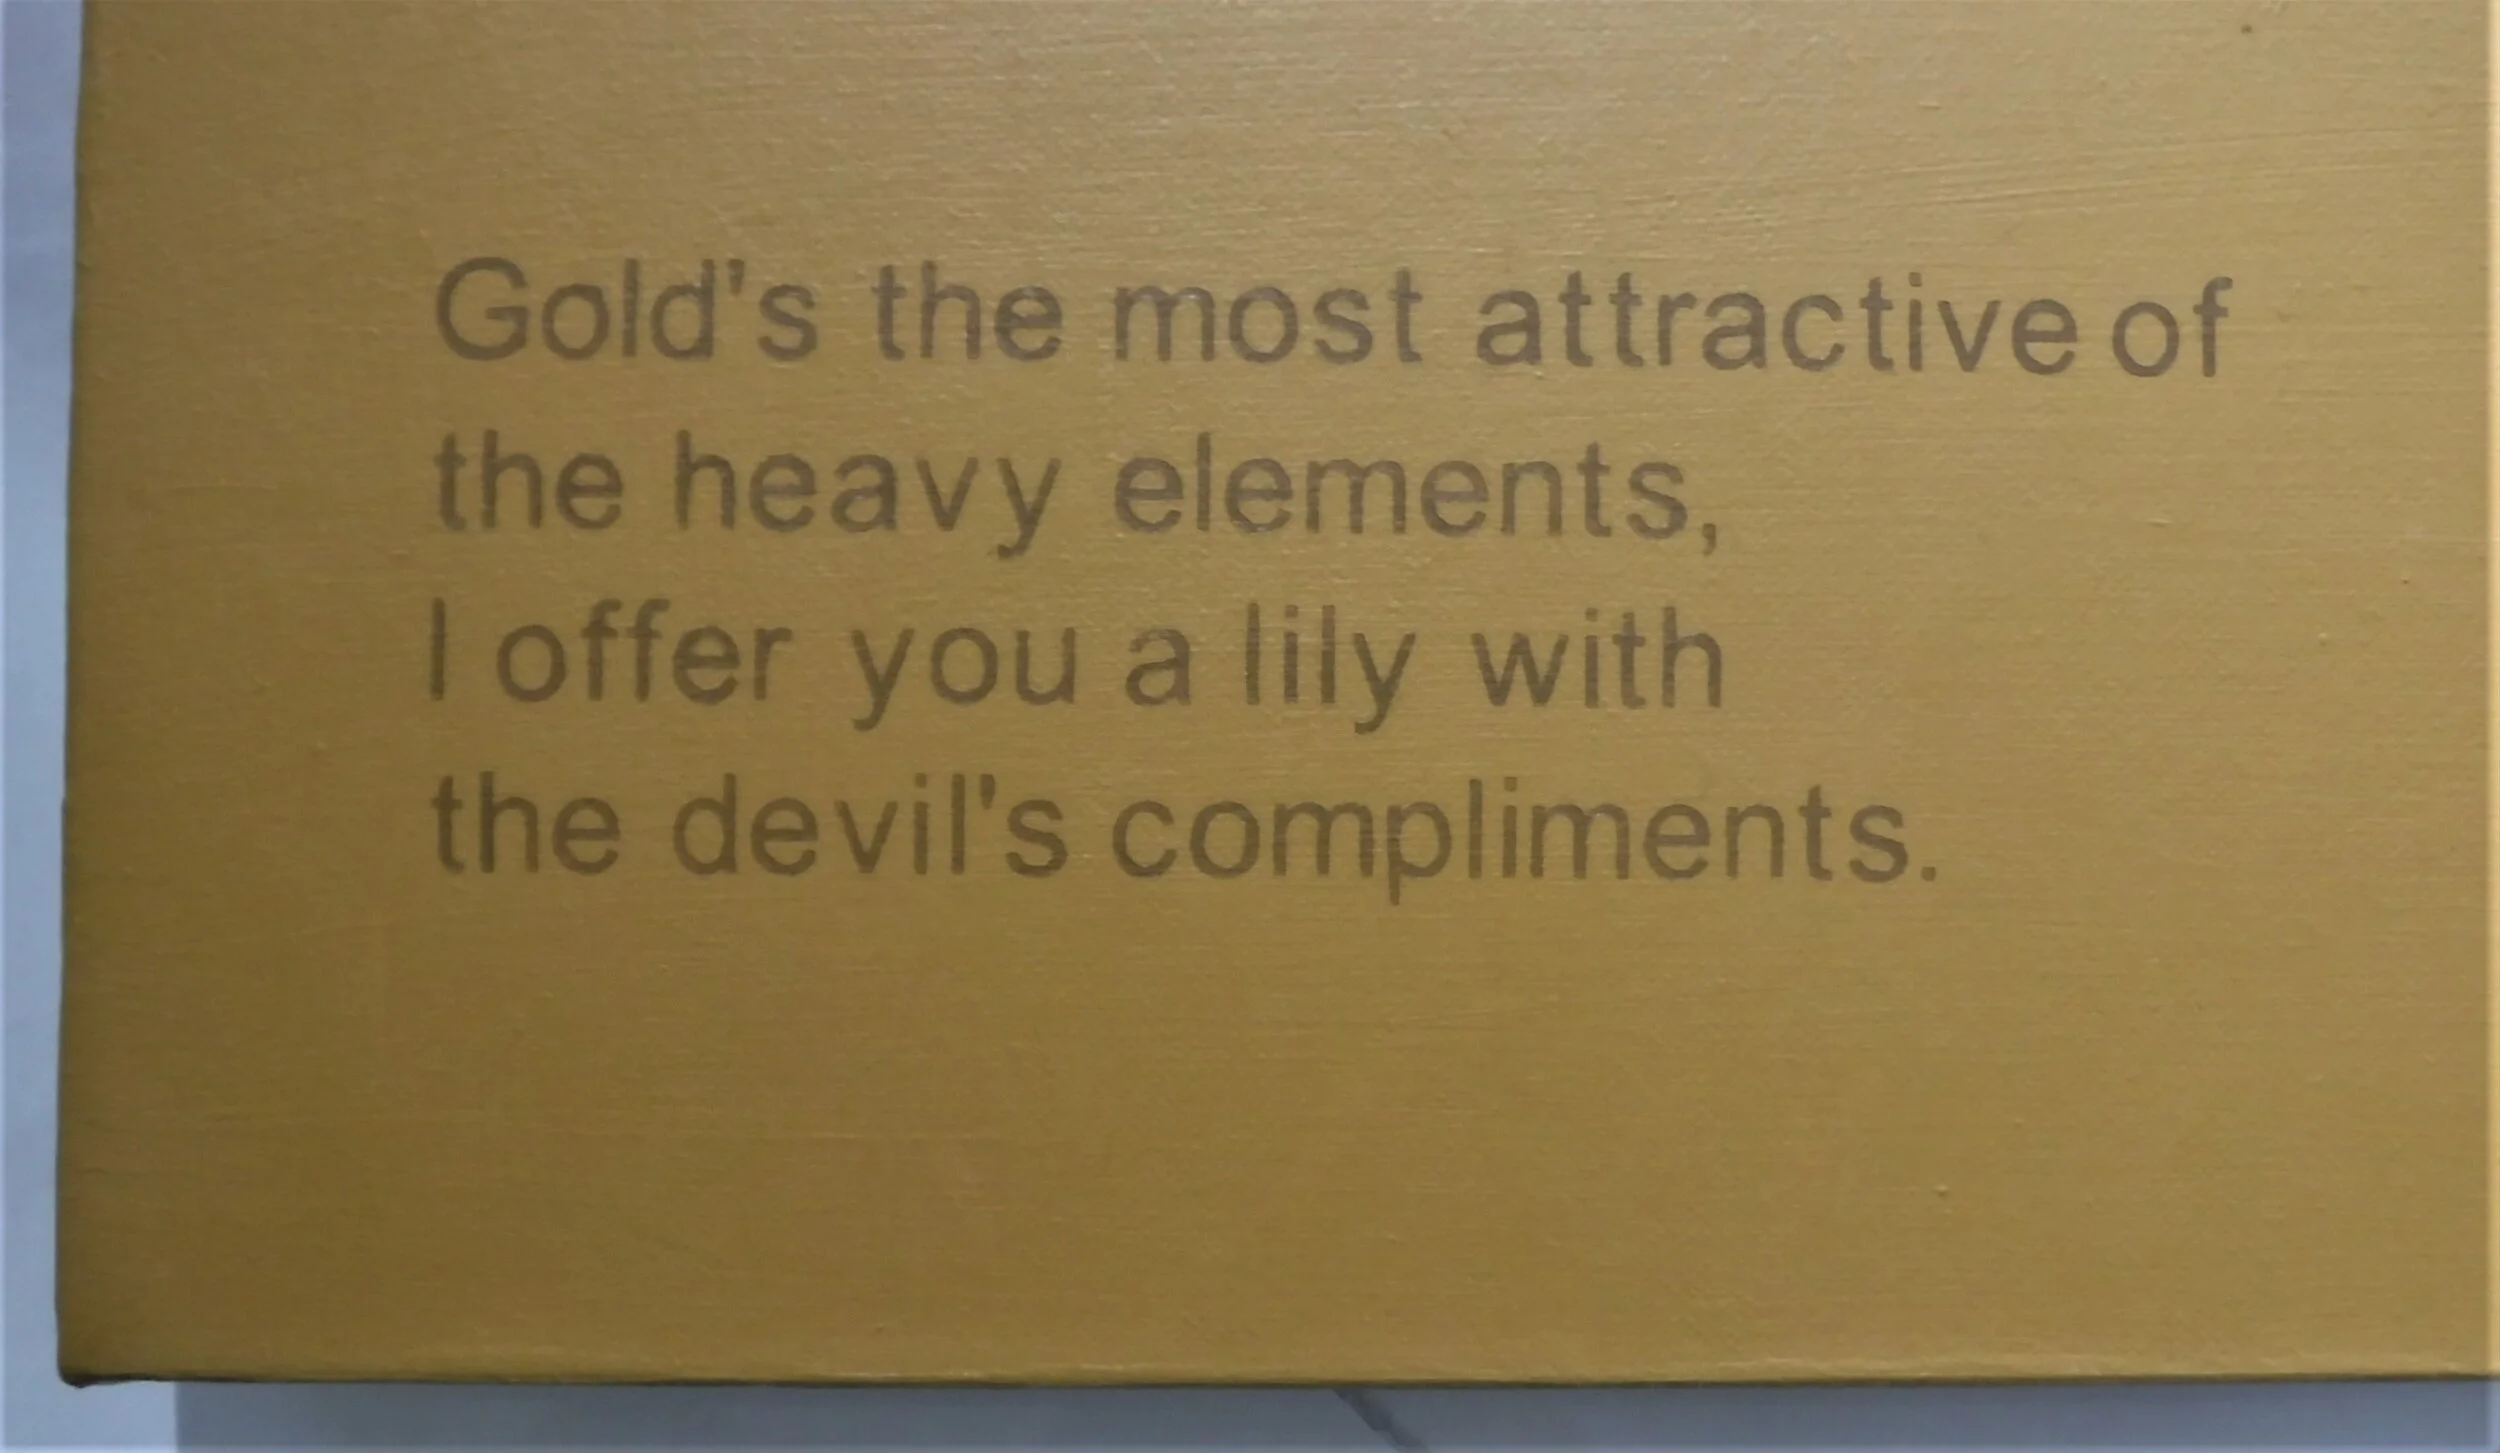
I bought the proper Cricut Stencil Vinyl, and cut it, and stenciled through it. It turned out pretty good, there was some bleed under the stencil, which I touched up by hand. Next time I’ll try to make the surface of the canvas a bit smoother, or use a different technique for applying the paint. I kind of smeared the paint on with a brush, maybe I should have dabbed it on with a foam brush, which I have. Still, it took way less time and it looks a lot better than it would have if I’d painted it by hand.


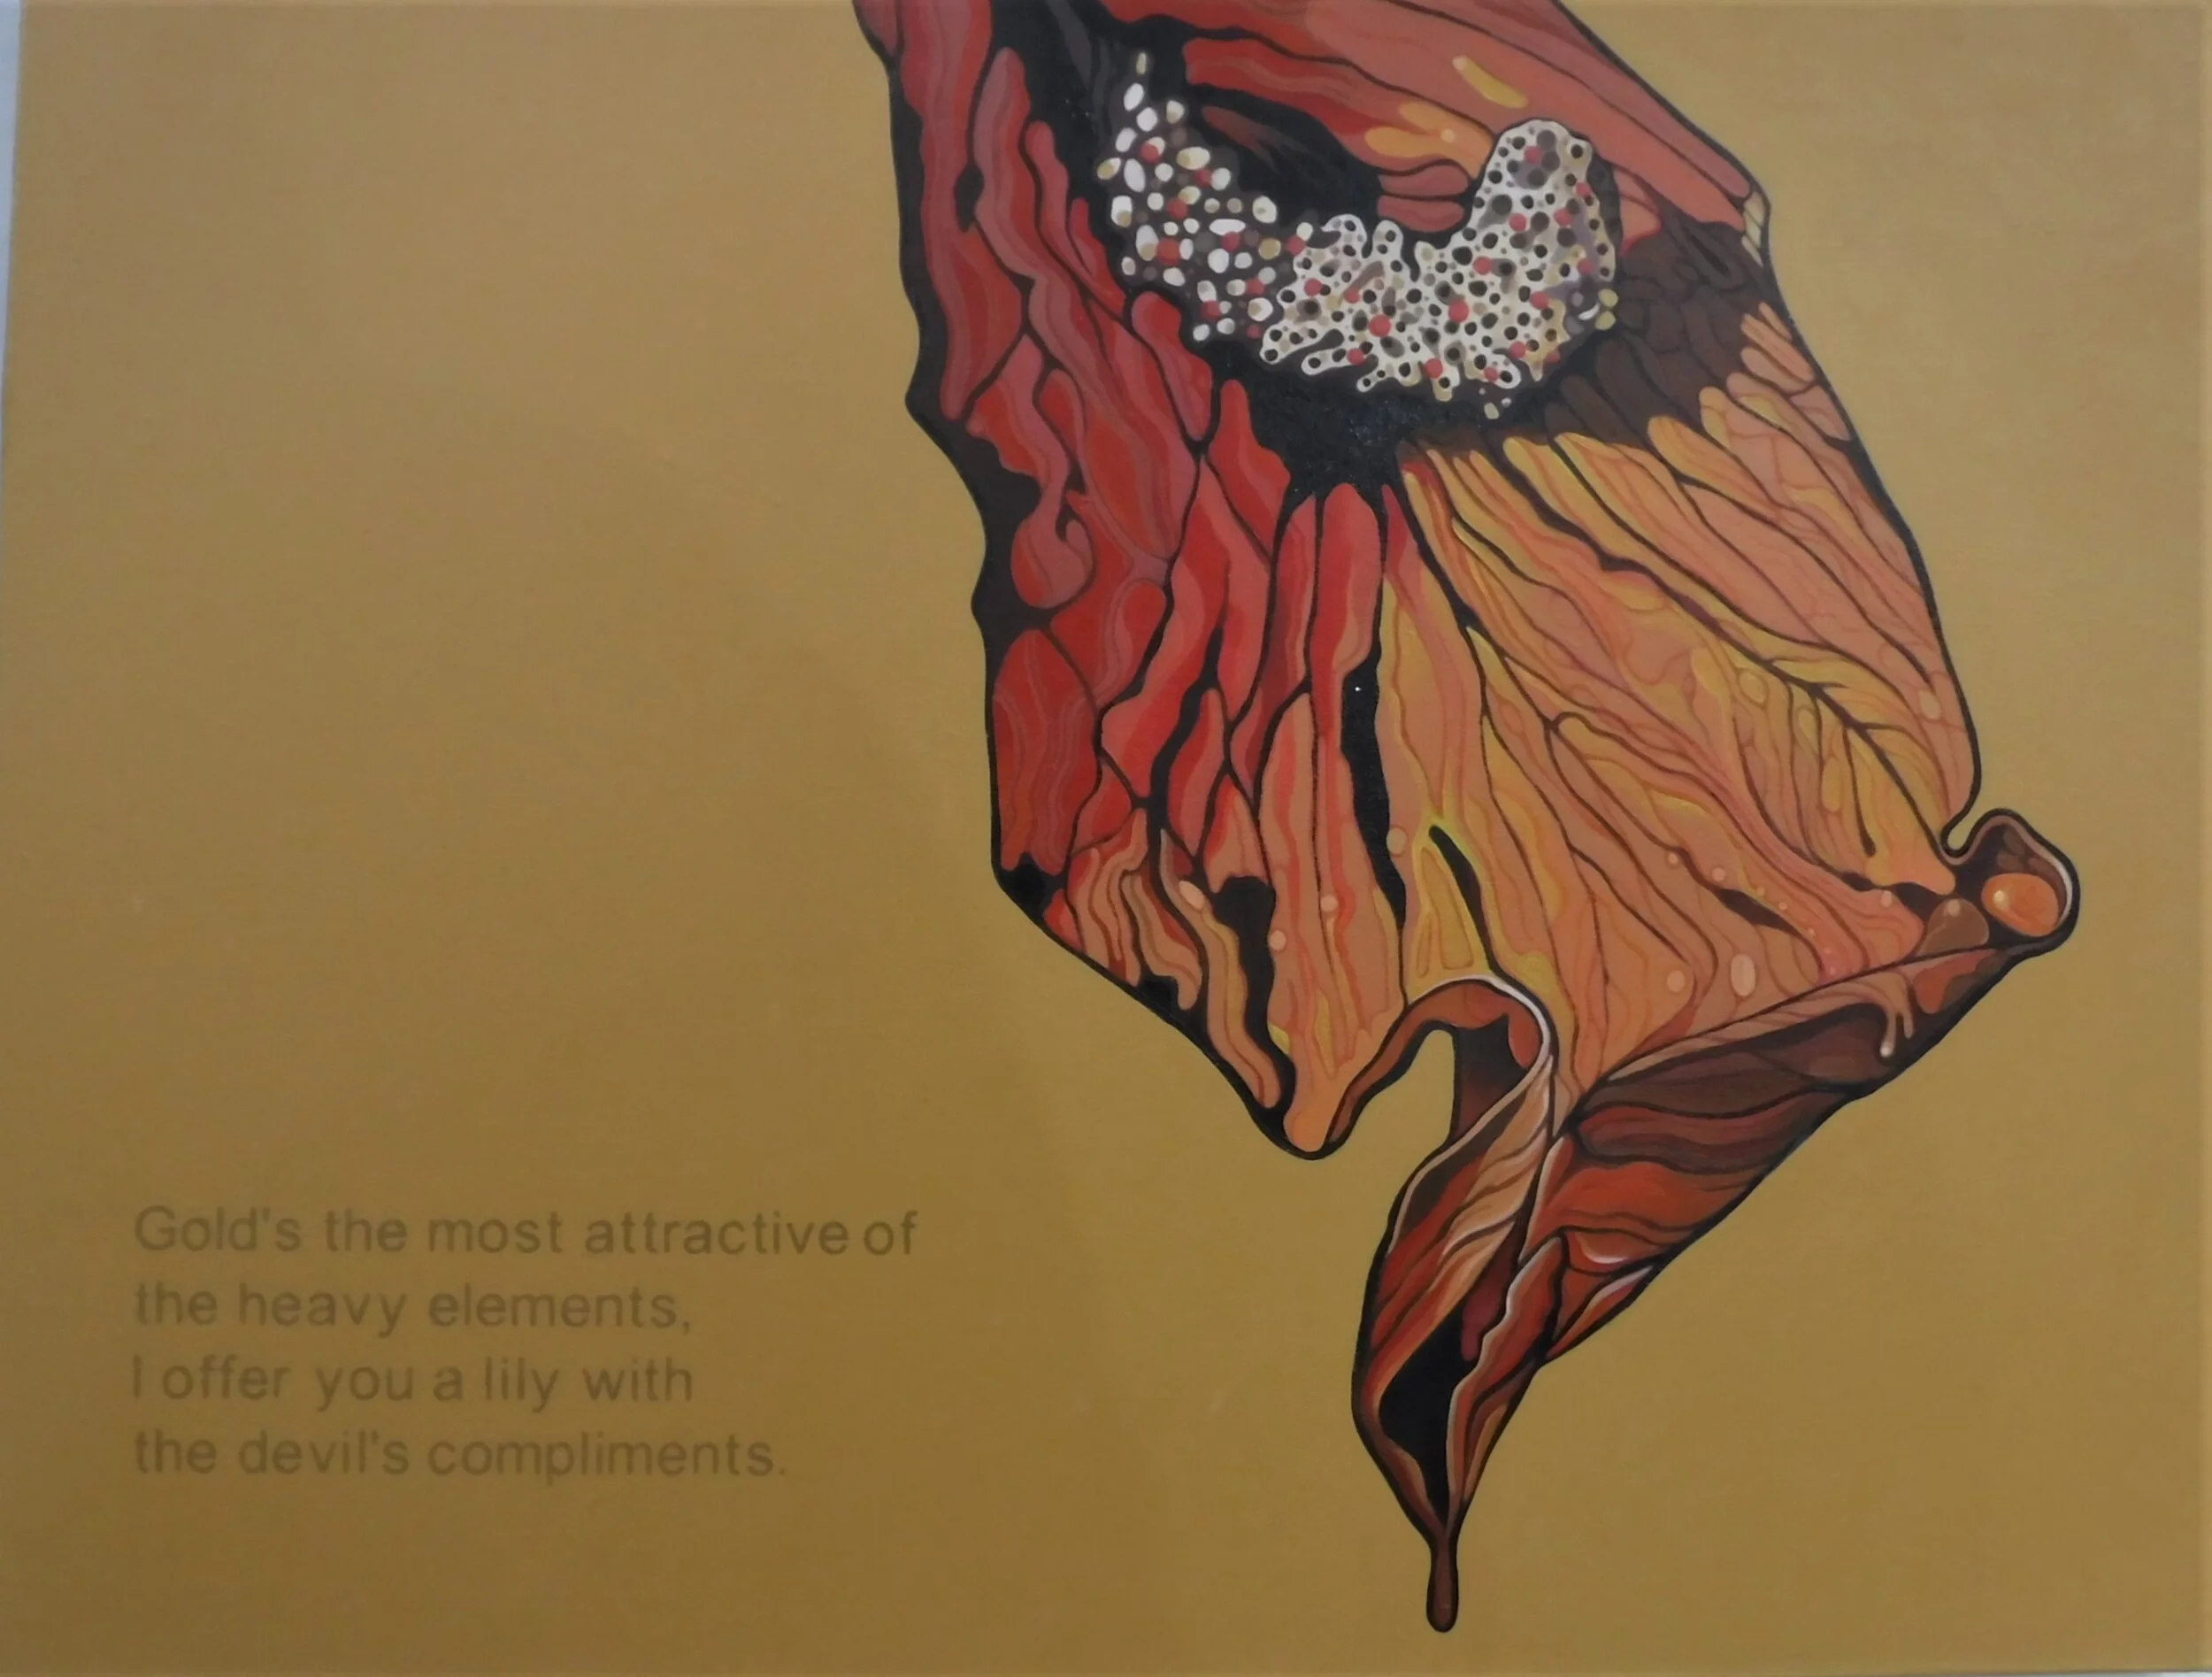
peace lily painting  January 5 2020  jo forrest

I need a better crisper image, but you get the idea.


peace lily, bottom of painting  jo forrest 2020

The bottom of the painting. I need better lighting in my studio to take photographs with. It did turn out o.k. though. Now I have to figure out how to upload a drawing into the Cricut design space to make my own stencil.


Peace lily

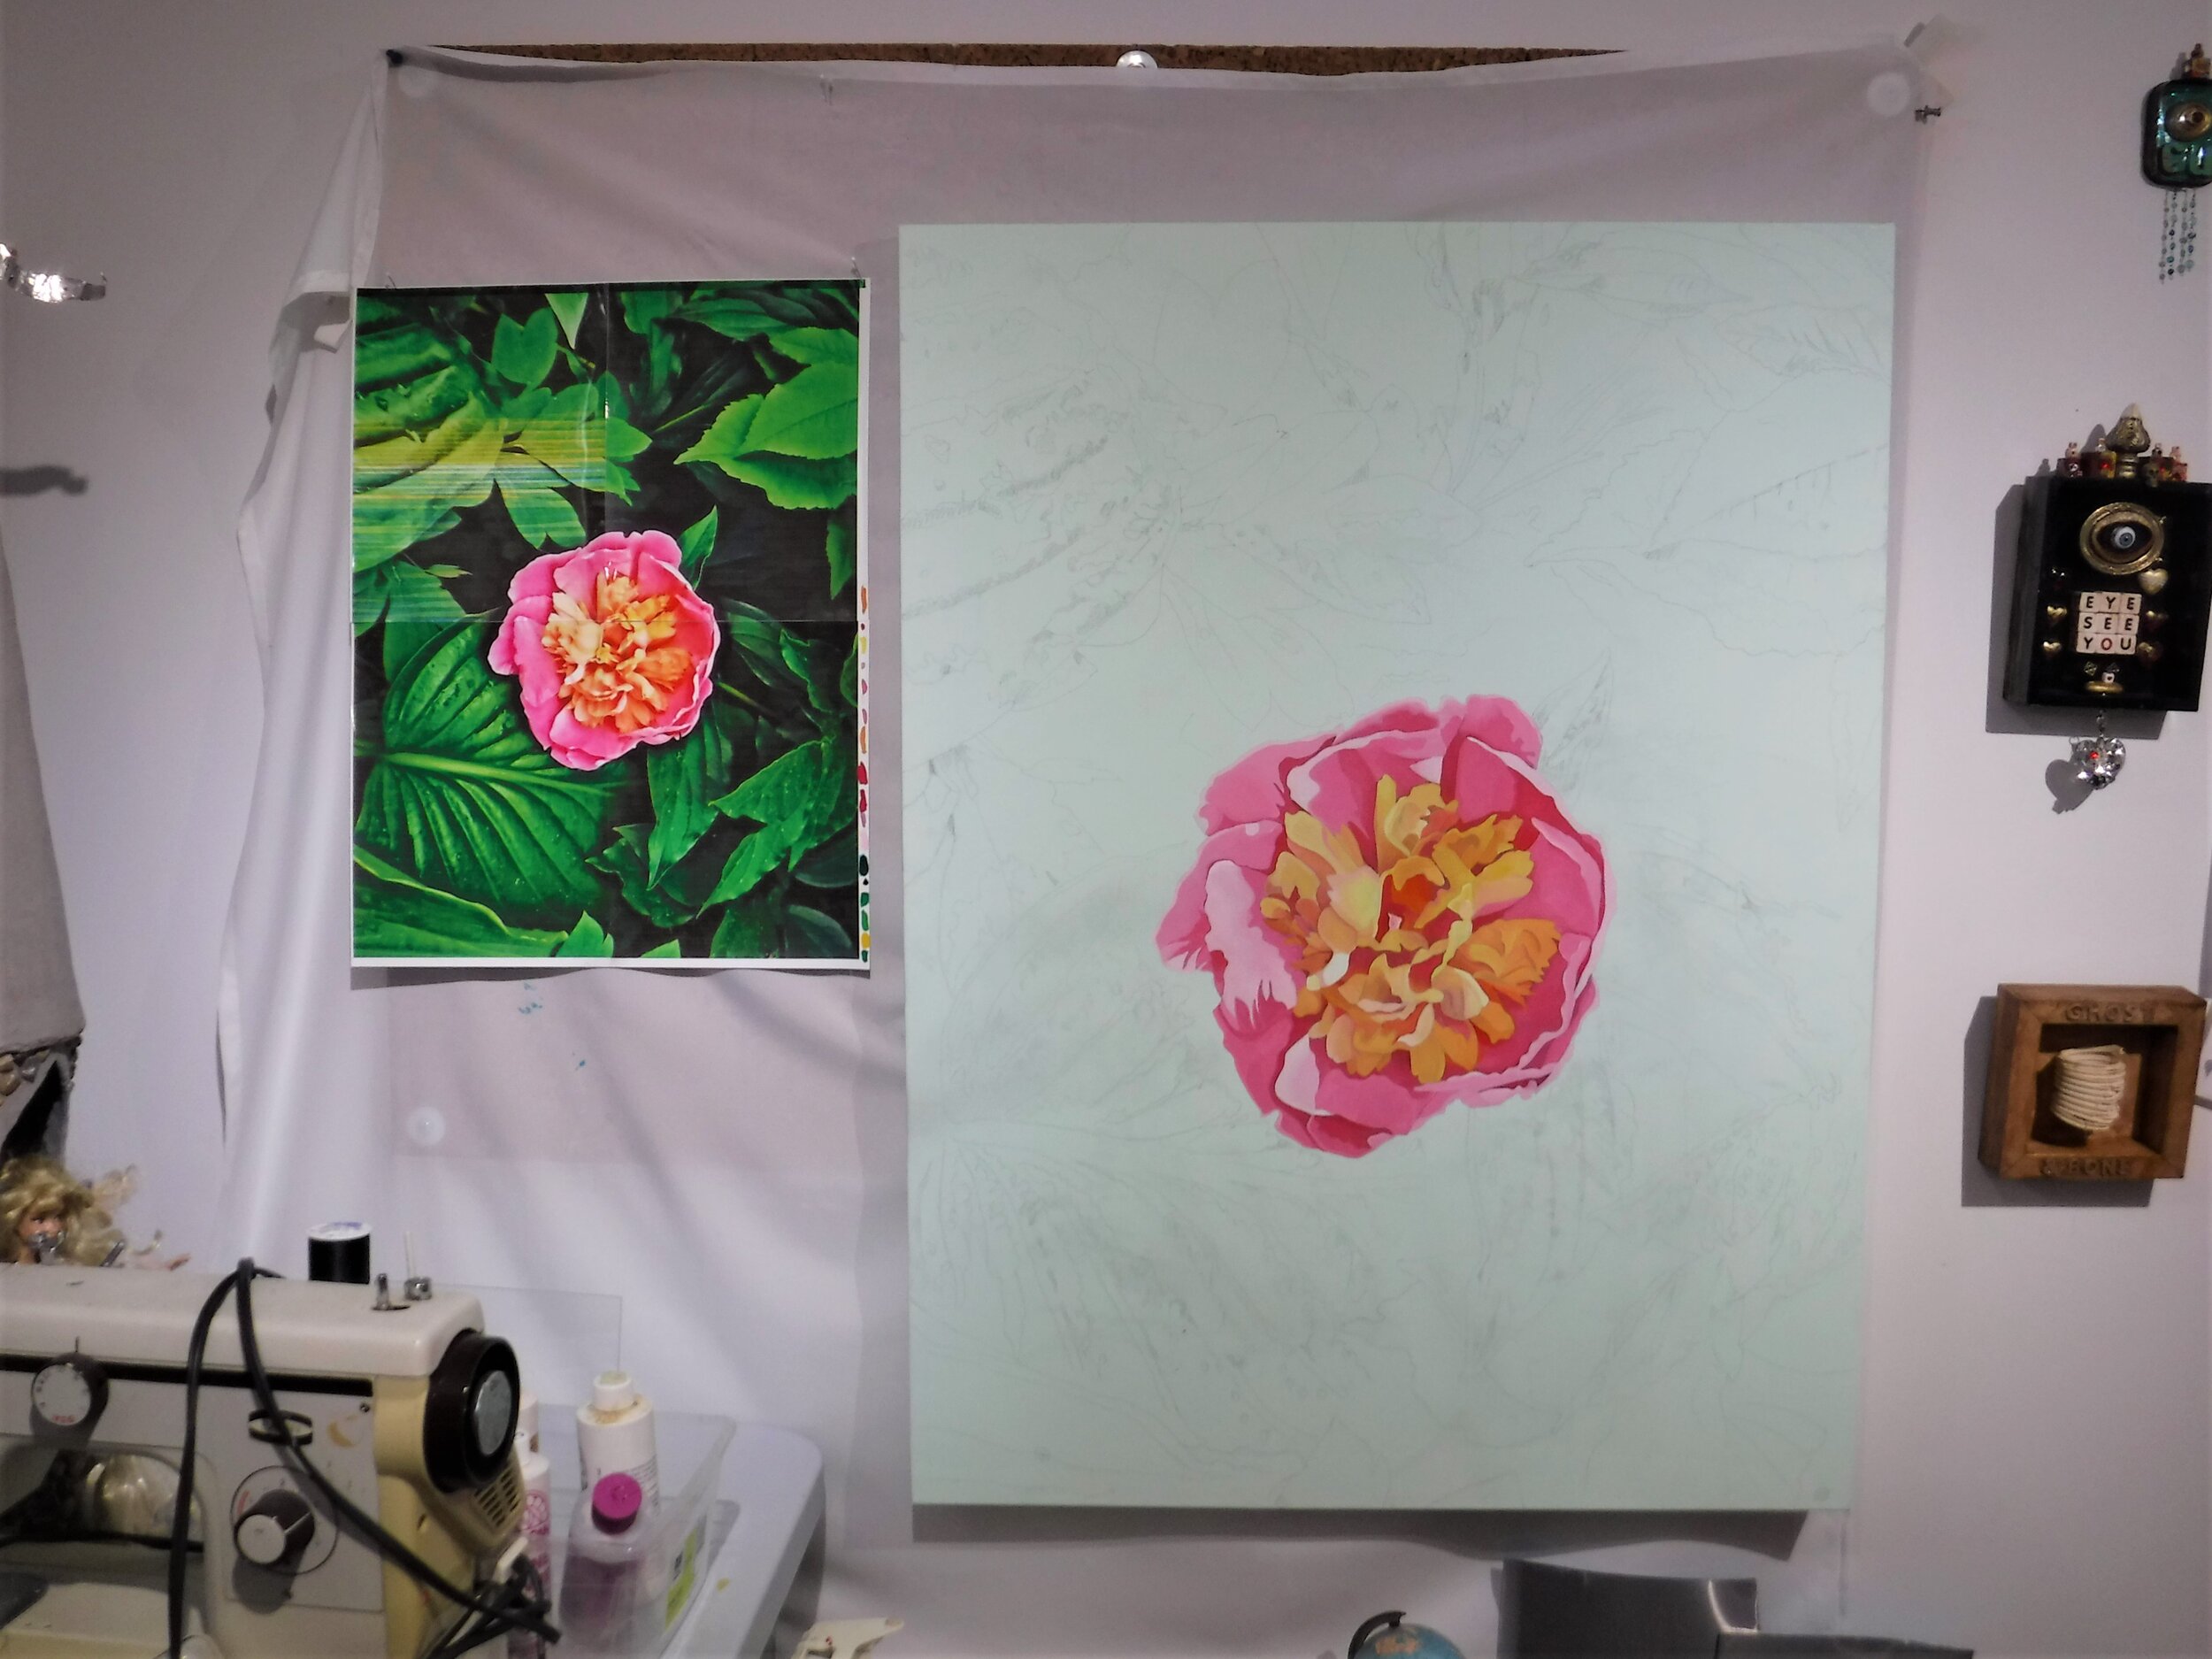
This is the beginning of the next painting. It’s a dried peace lily flower, from a plant in the front foyer.

peace lily painting

Layer one of the orange paint. The gesso is tinted a light tan colour, but I’m going to paint over top of that.


peace lily Dec 3 2019 Jo Forrest

One layer of paint on the background. This one is going to have text from a poem, to be done later. I hear I’m getting a Cricut Maker for Christmas, so I’m going to wait and do it with that. Fingers crossed it turns out the way I want it to. It would definitely make it easier to do if it works. Hand lettering takes time and precision.


peace lily jo forrest 2019

A couple of layers later. I have a brand new Cricut machine, so I’m going to try to cut a vinyl stencil with the text on it, and see how it looks. It might take me a while to figure out how to use it.


Crucut text for peace lily painting  jo forrest 2020

The stencil cut, and paint stenciled through it. I had to touch up some of the paint that bled through, but it looks fine.


tiger lily

There’s a tiger in the tiger-lilies,

staring at the moon,

the drunken flies eat everything,

and bones are not immune.


Lily, plastic tiger

Image and text for the tiger lily painting.


Best tiger and lily photo for painting

Or this one. I took a lot of photographs.


flying tiger

…then I made stained glass wings for him. I have a friend who’s motorcycle painting company is called ‘Flying Tiger’, so I might send it to him, if I can figure out how to pack it safely.


Fairy Tiger wings

When the light shines through the orange waterglass wings, it makes a tiger-striped black and orange shadow. I love that.


Green tiger

Found a green and orange tiger at the thrift shop. I don’t know why he’s green, but I’m going to make wings for him too.


Flying Tiger Battle Cat March 2020 jo forrest

Flying Tiger and Battle Cat fairy, for the fairy garden.


I’m also making a glass pyramid for the ‘mummy’ fairy skeleton. The last one kind of fell apart in the rain. This one should last longer. It’s ready to be soldered, so I just have to do that. Staying in as much as possible. But then, when don’t I?